
If you have a large number of Rental Items to add to your system, you can easily import them into Ascend instead of creating each one manually.
- Download the Rental Item Import Template from the Retailer Portal on www.ascendrms.com or directly via this link.
- Enter the following information as needed.
-
ID: If you are importing new Rental Items, leave this field blank. If you exported your Rental Item list to edit your existing list, DO NOT edit this column.
Note: When sorting in Excel, be sure to sort ALL columns. -
Item Number: Enter your store’s identifier for the item.
Note: If a Serial Number is entered and Item Number is left blank, the Serial Number is also used for the Item Number upon saving. - (optional) Serial Number: Enter the item’s serial number.
Note: Either the Item Number or Serial Number field is required. - (optional) Cost: Enter the amount you paid for the item.
- (optional) Comments: Enter any additional information employees need to know about the item.
- (optional) Location: Enter the location in the store where the item is stored.
- Rental Product Description: Enter the description for the Rental Product with which the Rental Item is associated.
-
Rental Product SKU: Enter the in-store SKU for the Rental Product with which the Rental Item is associated.
Note: If you're creating a new Rental Product alongside the Rental Item and you wish to use an automatically generated SKU, leave this field blank.
-
ID: If you are importing new Rental Items, leave this field blank. If you exported your Rental Item list to edit your existing list, DO NOT edit this column.
- Save and close the file.
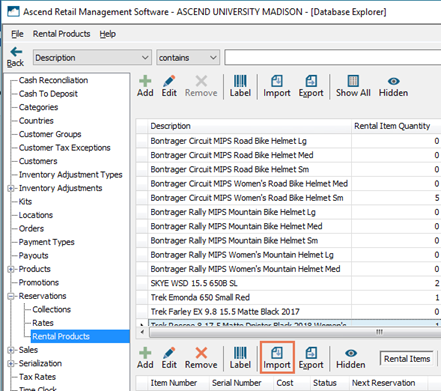
- Navigate to Database Explorer > Reservations > Rental Products in Ascend.
- Select the Rental Product for which you wish to import Rental Items.
Note: If you're creating a new Rental Product(s) alongside the Rental Item, select any existing Rental Product - you'll be prompted create any Rental Products which don't match your entries in the spreadsheet. - On the lower toolbar, click the Import button.
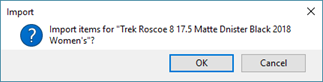
- On the Import items prompt, click the OK button to confirm.
- Navigate to the location where the spreadsheet is saved and double-click it.
- In the Select Columns dialog box, check the fields you wish to import and click the OK button. To select all fields, click the Select All button. To clear all selections, click the Select None button. To overwrite values for existing Rental Items and/or Rental Products, check Overwrite Existing Values.
Note: ID and Item Number are required and cannot be unchecked.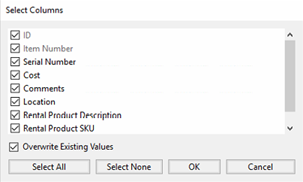
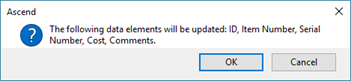
- On the Data elements will be updated prompt, click the OK button to confirm.
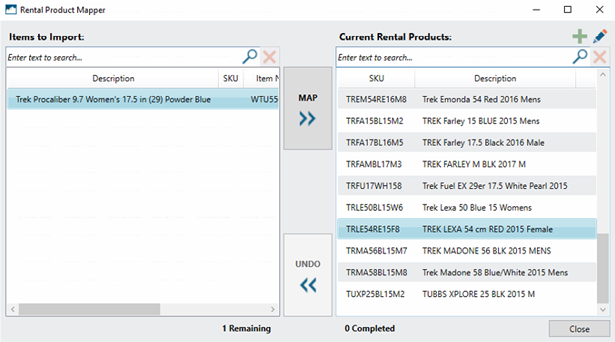
- If an exact match cannot be found for the Rental Product information entered, the Rental Product Mapper displays.
- In the Items to Import column, select the Rental Items which are associated with the same Rental Product.
- In the Current Rental Products column, select the appropriate Rental Product. To add a new Rental Product with the information entered in the spreadsheet, click the plus icon.
- In the middle column, click the Map button.
Note: Click the Undo button to reverse the last action. - When all Rental Items are mapped to a Rental Product, click the Close button.
- On the Import process complete prompt, click the OK button.
Additional Resources
KB22-211