
The Category Analysis report (see Ascend HQ Category Analysis metrics) on Ascend HQ allows you to compare month- and year-to-date sales and inventory performance from year to year – this lets you keep a close eye on your data so that you can quickly adjust your strategies to keep your operations on track. But you might not want to constantly log in to view this info – or you may want to send it to someone (like an accountant) who doesn’t necessarily want or need full access to Ascend HQ. You may even want to keep historical copies of the report so you can refer back to see how quickly your adjustments yielded results.
Schedule report delivery
- Log into Ascend HQ and navigate to Settings (on the left side of the screen).

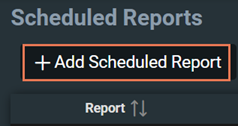
- Select Scheduled Reports, then click the Add Scheduled Report button.
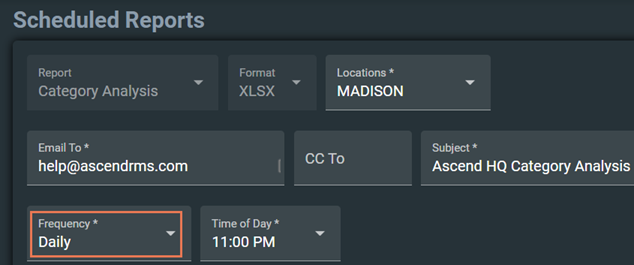
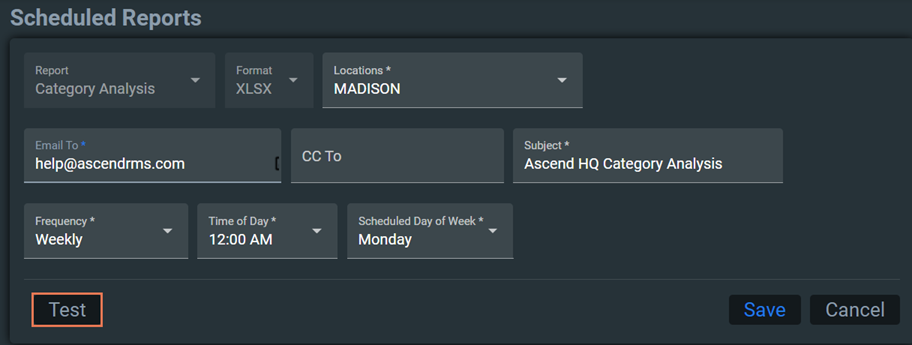
- (multi-store retailers) In the Locations dropdown, check the locations you wish to have included in the delivery.
- In the Email To and/or CC To fields, enter the email addresses which should receive the report.
Note: Only one address can be entered in the Email To field – enter additional email addresses in the CC To field. Separate email addresses in the CC To field with a comma (,) or semicolon (;). - In the Subject field, enter the email subject/title which should display when users receive the report.
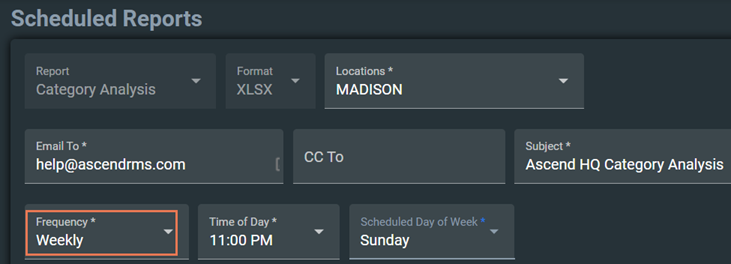
Note: A maximum of 512 characters (including spaces) can be entered. - From the Frequency dropdown, select how often you wish to receive the report.
- From the Time of Day dropdown, select the (local) time you wish to have the report delivered.
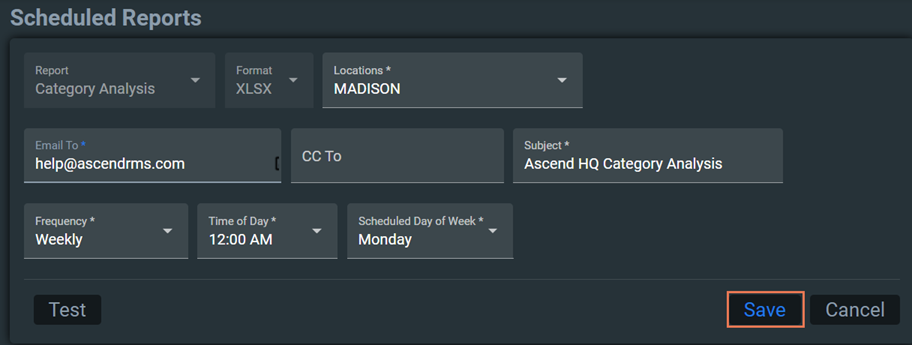
- If you chose Weekly delivery, select the day of the week the report should be delivered in the Scheduled Day of Week dropdown.

- If you chose Monthly delivery, select the date on which the report should be delivered in the Scheduled Day dropdown.
Note: To deliver on the last day of every month, select 31. If the date selected does not exist in the month when the report runs, it will automatically adjust to the last day of the month.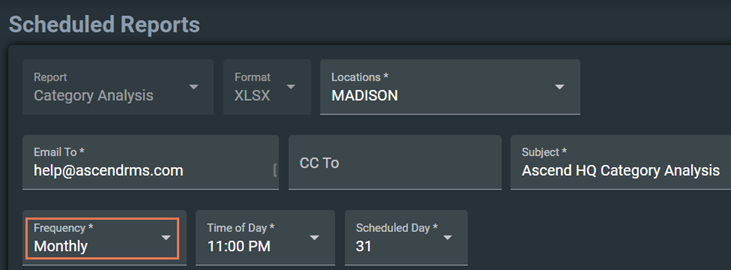
- (optional) Click the Test button to ensure the report is delivered as expected.

- Click the Save button.
Change current deliveries
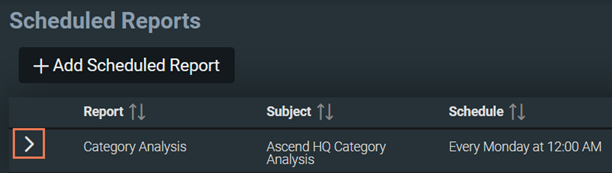
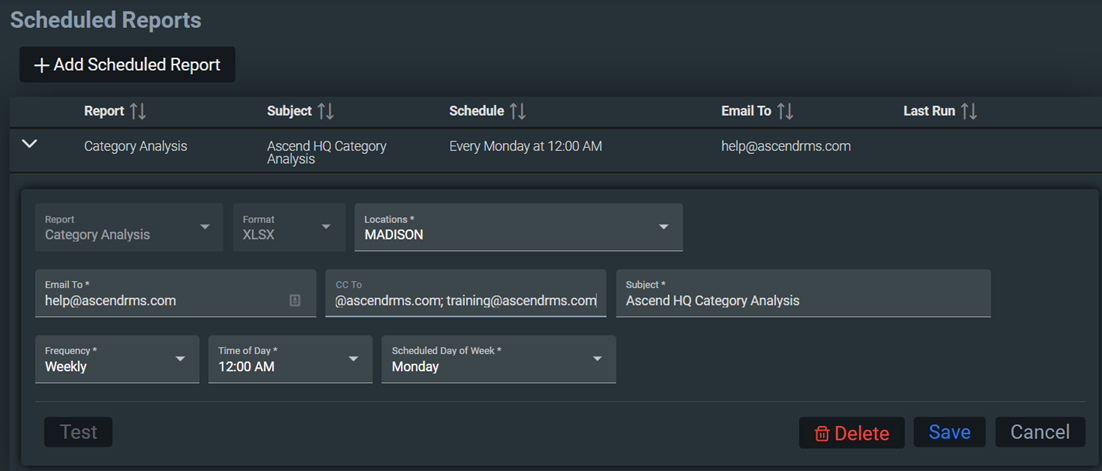
- Log into Ascend HQ and navigate to Settings > Scheduled Reports. All currently configured schedules display.
Note: Click a column heading to sort by that field.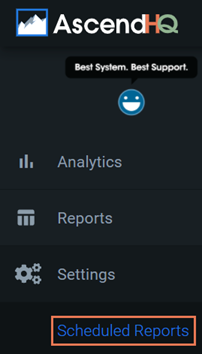
- Click the arrow next to the schedule you wish to edit.
- If you no longer need the configured schedule, click the Delete button.
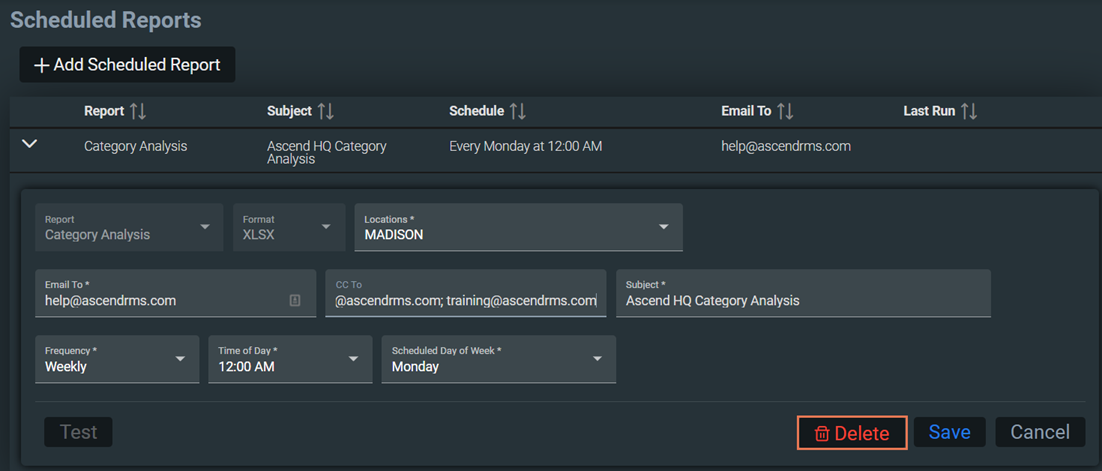
- (multi-store retailers) In the Locations dropdown, check the locations you wish to have included in the delivery.
- In the Email To and/or CC To fields, enter the email addresses which should receive the report.
Note: Only one address can be entered in the Email To field – enter additional email addresses in the CC To field. Separate email addresses in the CC To field with a comma (,) or semicolon (;). - In the Subject field, enter the email subject/title which should display when users receive the report.
Note: A maximum of 512 characters (including spaces) can be entered. - From the Frequency dropdown, select how often you wish to receive the report.
- From the Time of Day dropdown, select the (local) time you wish to have the report delivered.

- If you chose Weekly delivery, select the day of the week the report should be delivered in the Scheduled Day of Week dropdown.
- If you chose Monthly delivery, select the date on which the report should be delivered in the Scheduled Day dropdown.
Note: To deliver on the last day of every month, select 31. If the date selected does not exist in the month when the report runs, it will automatically adjust to the last day of the month.
- (optional) Click the Test button to ensure the report is delivered as expected.
- Click the Save button.
KB22-033