
Selling an out-of-stock item
- Create a sale like normal.
- In the transaction screen, add products to the sale like normal.
- For the item(s) that will be special ordered, you can search by SKU, UPC, Part Number, or Description.
Make sure to toggle the Inventory Only icon off. This shows you product records in your system with a quantity of zero, along with your current inventory.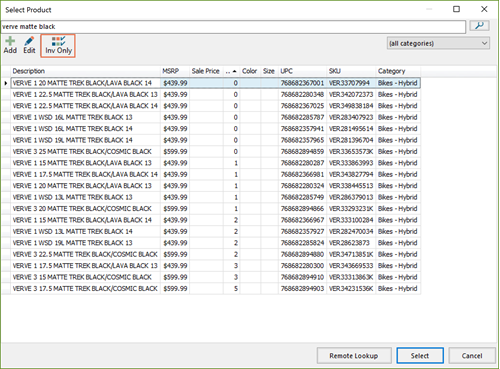
- Double-click on the item once you find it, or highlight it and select Select.
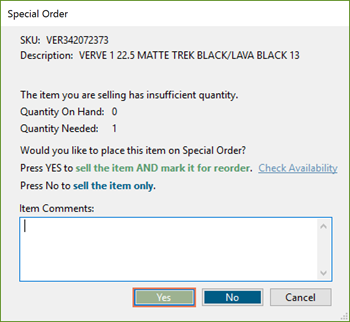
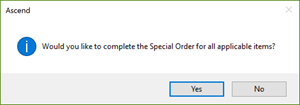
- A special order prompt opens. Select Yes to sell the item and mark it for order.
(Multi-store retailers) If another location(s) has sufficient quantities of the product in stock, select Request Transfer from selected store and select the desired location. In the Transfer Comments field, enter any additional information the location needs to know (like the item is a present and the customer needs it by a specific date).
If any unassigned/unreceived order item exist with a quantity sufficient to fill the customer’s purchase, the Associate to Purchase Order option is active - select the desired order from the dropdown. The vendor/supplier name, PO Number, order status, and date the order was created display.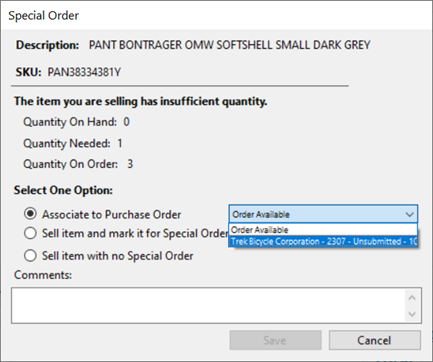
Note: You can also select No if you want to sell the item, but do not want to mark it for order at this time. For example, if you have the item in your shop, but no quantities in Ascend, you might select No. Just make a note to fix the product quantity later, and make sure you’re performing regular cycle counts to keep your inventory in check.
We recommend selecting Yes anytime you have to actually order the item - because it ensures that you can track the special order status every step of the way. - Take any payments, if needed. You do not need to take a payment to save the sale.
- Click Save.
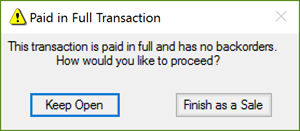
- If the transaction was paid in full, the item will be picked up later, check the box for Keep Transaction Open on the Change Due screen to keep it active.
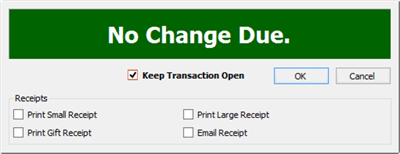
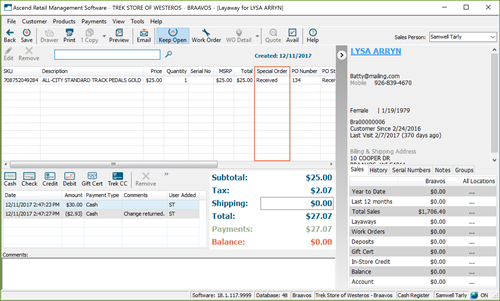
The transaction is saved as a Layaway, and if needed, you can find it by selecting View > Layaways from the Ascend desktop. - Once the product has been ordered and received, and the customer returns to pick it up, you can find the transaction under Layaways.
If any specially ordered items are serialized, the serial number should be attached automatically to the transaction if it was added during the receiving process (see Receive Vendor Orders). If the serial number was not assigned when the product was received, you will be prompted to attach a serial number here. - Then finalize any pending payments (if necessary), and click Save to close the transaction.
- A prompt to change the special order status to Complete opens. Click Yes to change the order status to complete.
- Click Save.
- A Paid in full transaction prompt opens. Select Finish as a Sale.
Ordering a Special Order item
- Open an existing Vendor Order or create a new one (for the vendor that sells the item).
- In the vendor order, select View > Items to Order.
The items to Order window opens. The top part of the window is for reorder items (dictated by product Mins and Maxs). The bottom part of the window is Special Orders.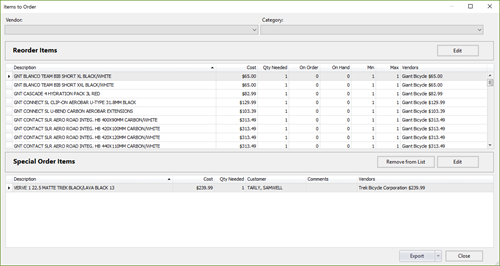
- Check the box next to the items you want to order.
- Select Add to Order.
- Proceed with the ordering process as usual.
When the specially ordered item arrives in your shop, and is marked as received, you will also have a chance to email or text the customer that their order is ready for pickup.
Serial numbers associated with a received special order are automatically associated with the sale item in the transaction.
Checking Special Order status
There are multiple ways to check the status of a specially ordered item. Here's how to get to them from the Ascend desktop:
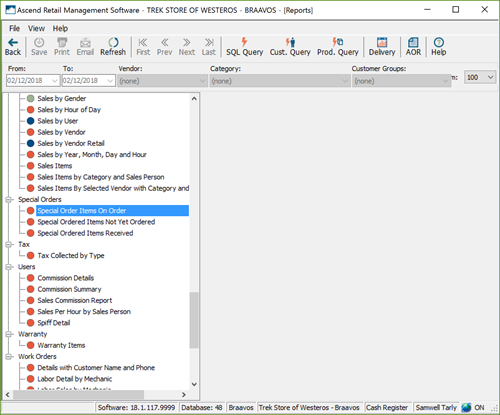
- Select Reports > scroll to the Special Order section > double-click on one of the special order reports
- Special Order Items On Order
- Special Order Items Not Yet Received
-
Special Order Items Received
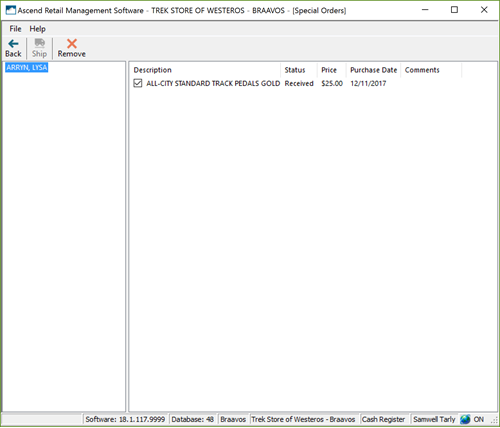
- Select View > Special Ordered Items.
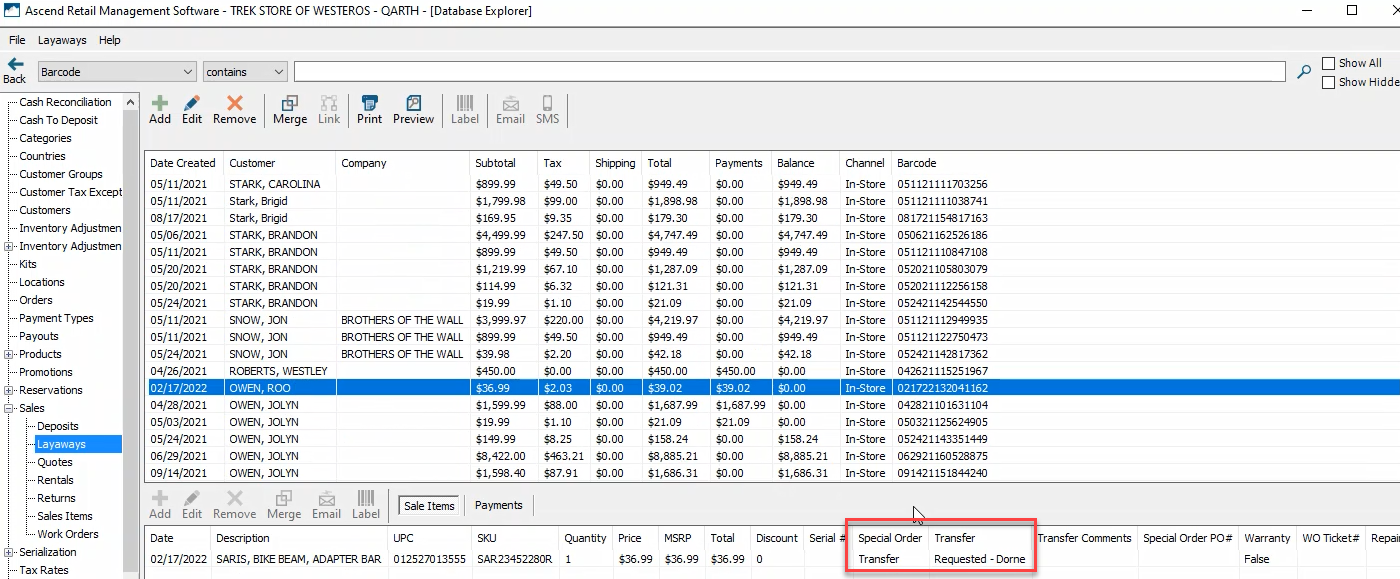
- Select View > Layaways > open the transaction > check the Special Order column for status
- Once the associated order is submitted, the Delivery Date column displays the Shipped, Estimated, or Promise date provided from Trek B2B.
Note: Historical delivery estimates are not tracked. Keep track of all changes communicated to the customer in the Comments field of the transaction or sale item.
- Special Orders can also be assigned to a Transfer.
Special Order Notifications
You can easily notify the customer and any staff involved in a Special Order from the Purchase Order or Check-In Transfers screens in Ascend.
When you receive a Special Order item in a Purchase Order and then click Save, the notification prompt opens.
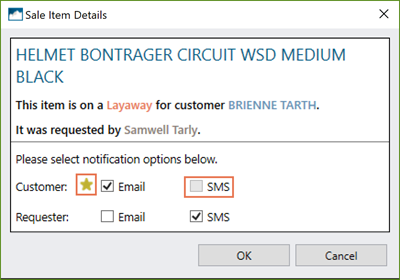
The Product Description is at the top of the notification.
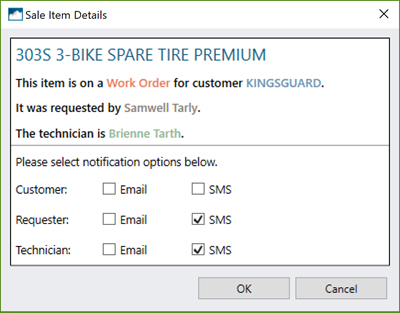
Underneath that, there’s a detailed summary of the transaction this item is for with the customer's name, salesperson who requested the sale, and - if applicable - the Work Order Technician involved.
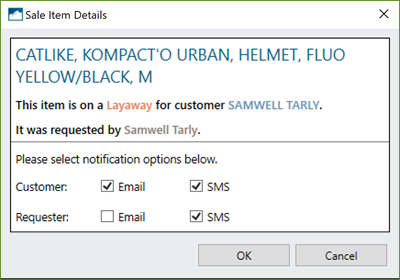
If the customer has a preferred contact method, it’s marked with a star and is automatically checked for notification for a normal transaction. If a customer has not provided some contact information, that option is grayed out.
For Work Orders, the notification methods for the Technician and Requester are checked by default instead of the customer.
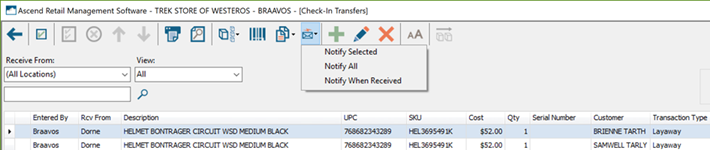
For multi-store retailers, if you mark a Special Order item for transfer from another location, you will see the same notification window in the Check-In Transfers screen when the item is received at your store.
You can also use the new Notification icon in the Transfers toolbar.
Additional Resources
KB22-036