¿Desea realizar un pedido de productos Trek? Pruebe el Asistente de recepción para realizar su pedido en un abrir y cerrar de ojos (más información: Registre varios pedidos de Trek con el Asistente de recepción). Para todos los demás pedidos, proceda a continuación.
Recepción de pedidos de proveedores.
Seleccione el icono Recibir o Ver > Ordenes de compra del escritorio de Ascend para abrir la ventana Pedidos en el Explorador de bases de datos.
Si el estado Pedido de Proveedor es Enviado, Ascend pondrá automáticamente el pedido en modo de recepción cuando lo abra. Si el estado es No enviado, el pedido está pendiente y aún puede añadir artículos al pedido.
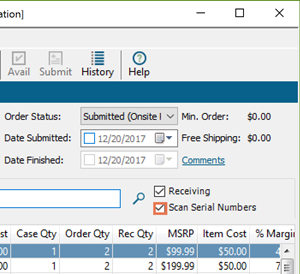
Puede ver si la Orden está en modo recepción mirando la casilla Recepción de la derecha. Cuando esta casilla está marcada, los artículos escaneados o introducidos en la barra de búsqueda se marcan como recibidos. Cuando esta casilla no está marcada, se añaden al pedido.
![]()
También puede marcar la casilla Escanear números de serie si desea que se le pida que escanee el número de serie inmediatamente después de recibir un artículo serializado.
Puede personalizar aún más la vista de la ventana de pedidos:
- seleccionando los iconos Ampliar o Reducir para cambiar el tamaño del texto en la cuadrícula,
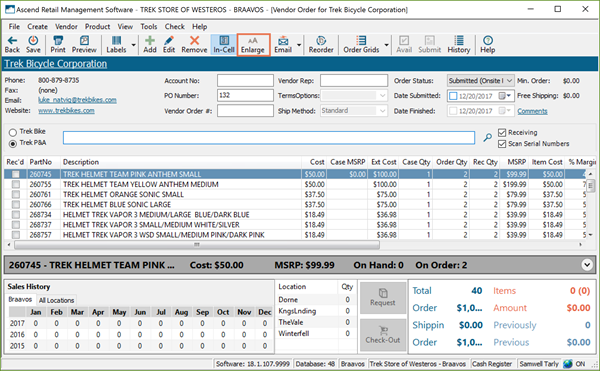
- arrastrando y soltando las columnas en el orden que desee verlas,
- o haciendo clic con el botón derecho en una columna y utilizando el Selector de columnas para añadir o eliminar columnas.
Si recibe artículos a granel de uno en uno, seleccione Producto > Dividir todos los artículos. Esto separa cada artículo en su propia línea para asegurar la exactitud.
Y si su pedido tiene alguno, puede imprimir los recibos de Pedidos Especiales desde aquí. Sólo tiene que seleccionar Archivo > Imprimir recibos de pedidos especiales.
Utilice la columna Transferir a
Asegúrese de que el icono de edición En celda está activo.
![]()
Los minoristas de varias tiendas pueden marcar rápidamente los artículos para transferirlos sin salir de la ventanilla de recepción utilizando la columna Transferir a. Seleccione la flecha desplegable en la columna Transferir a de su artículo. A continuación, elija la ubicación a la que debe enviarse el artículo.
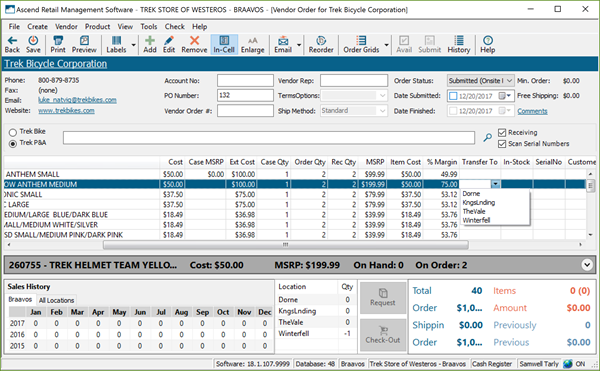
Si accidentalmente selecciona el campo equivocado o necesita borrar este campo, sólo tiene que seleccionar el campo y pulsar Retroceso o Suprimir en su teclado.
Resalte un artículo para ver información de un vistazo, como información sobre varias tiendas, transferencias pendientes, etc. ¿No necesitas ver toda esta información? Seleccione aquí la flecha para contraer la barra de detalles del artículo x1_".
Guardar el pedido
Una vez que haya recibido todo para su sesión, seleccione Guardar.
Si alguno de los productos que ha recibido aún no ha sido categorizado, accederá al Mapeador de categorías. Puede seleccionar productos sin categorizar desde aquí y asignarlos rápidamente a la categoría de la que deberían formar parte resaltando la categoría deseada y haciendo clic en Asignar.
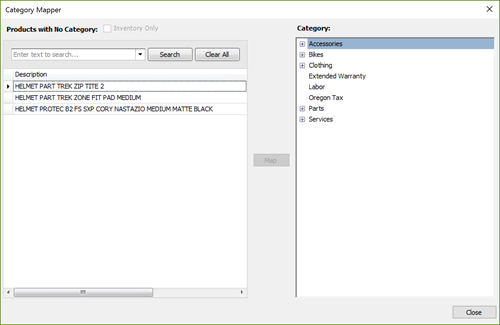
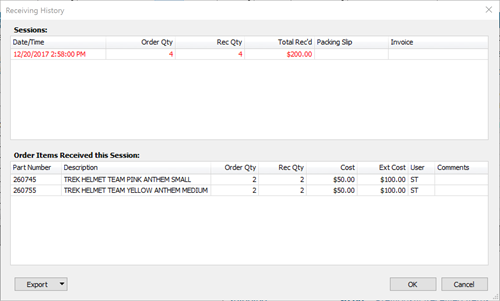
Cuando haya terminado, se cerrará Asignador de categorías y se abrirá Historial de recepción .
Esto le muestra los detalles del pedido, incluidos los artículos recibidos y las iniciales del empleado que los recibió. Aquí debe introducir sus datos de embalaje y factura . A continuación, selecciona OK.
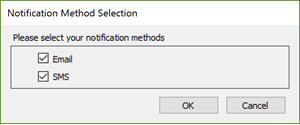
A continuación, si tiene algún artículo de pedido especial, es posible que se le pida que se ponga en contacto con el cliente para el que son los artículos.
Por último, recibirá un aviso de envío. Puede añadir el coste de envío de este pedido, e incluso dividirlo entre los artículos, si lo desea.
Nota: La aplicación de los gastos de envío a los costes de los artículos del pedido afecta a su COGS y Margen. Comente con su contable la gestión de los gastos de transporte en Ascend. (Usuarios de QuickBooks) Si ha asignado una cuenta a Gastos de envío (en Opciones > QuickBooks), los gastos de envío no se pueden dividir y esta opción no está disponible.
Si es necesario, marque la casilla Actualizar coste de proveedor para cambiar el Coste en todos los Productos de proveedor a lo que eran en este pedido.
Guardar los artículos recibidos
Puede guardar los artículos recibidos de dos maneras:
- Imprimir etiquetas
- Imprimir el pedido de proveedor
- Selecciona Guardar
Una vez recibidos todos los artículos y guardado el pedido, el Estado del pedido cambiará a "Recibido" y el pedido dejará de aparecer en la lista de Pedidos activos.
Transferencias
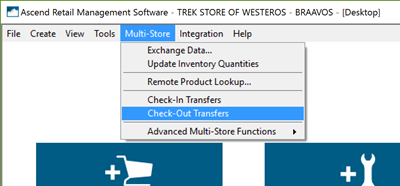
Si ha marcado algún artículo para transferir, esos productos aparecerán ahora en su pantalla Multialmacén > Transferencias de salida y estarán listos para el siguiente paso del proceso de transferencia.
