
To add a user, you need the right permissions. Managers and Administrators typically can help out if you aren't able to add a new User. Users are shared between multistore locations.
- Select the Database Explorer icon from the Ascend desktop.
- Click Users in the left.
- Select the Add icon.
- The Add User window opens.
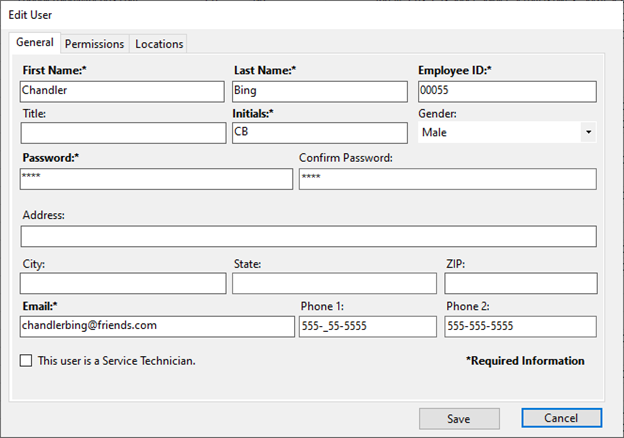
- Fill in the fields. The required fields include:
- First Name,
- Last Name,
- Employee ID,
- Initials,
- Password and Confirm Password,
- and Email.
- Fill in the optional fields, if needed:
- Gender,
- Title,
- Address,
- City,
- State,
- Zip,
- Phone,
- and a second Phone number, if needed.
Note:
Each User needs to have a unique password - if a duplicate password is entered, users are informed the password is invalid. Passwords are encrypted and cannot be obtained by Ascend Support. Passwords must be at least 4 alphanumeric digits long.
Then select the Permissions tab.
Selecting User Permissions
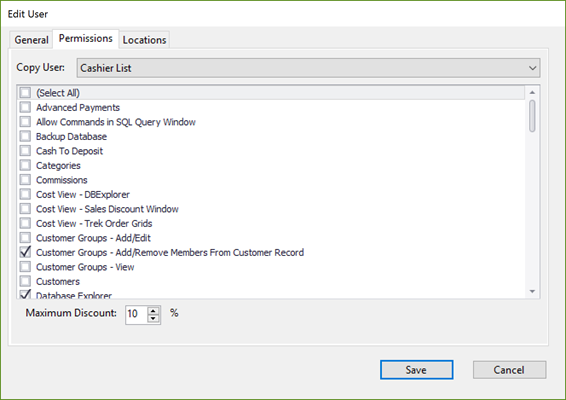
In the Permissions tab, you can set the areas the User has access to in Ascend. Changes to user permissions automatically share between multi-store locations. Users cannot have different permissions at different locations.
You can use the dropdown menu to select one of the pre-created permissions template:
Cashier template
- Manager template
- Administrator template
Otherwise, you can manually check and uncheck the boxes for different permissions to create a custom template for a User.
You can also copy another user's permissions using the dropdown menu if you've already setup a custom template.
Then set the User's Maximum Discount percentage (that they can give to customers in a sale).
Then select the Locations tab.
Setting User Locations
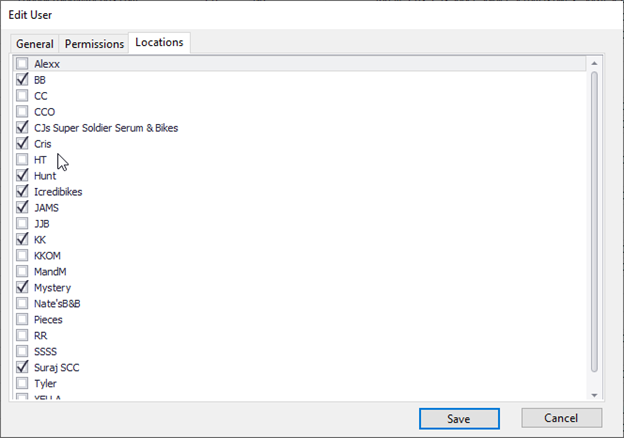
If the user does not have access to your current location, they are considered “Inactive.” From Database Explorer > Users, click the Inactive button on the toolbar to view these users.
From the Edit User dialog box, click the Locations tab. Check all locations at which the user should have access.
Then select Save.
FAQs and Troubleshooting
Q: What if I need to delete a User?
A: You can highlight the User's name and then select the Remove icon.
Q: What if I try to add a User and Ascend says they already exist (but I don't see them)?
A: The User might have been created and then deleted. Select Show Hidden at the top of the screen. The name should appear in red and you can select the Restore icon to add them back to your Ascend database.
Q: How do I restore a deleted User?
A: Select Show Hidden at the top of the screen. The name should appear in red and you can select the Restore icon to add them back to your Ascend database.
KB22-010