
Ascend’s SMS (text) integration allows you to send messages to customers’ mobile phones directly from Ascend.
Your installer will generally set up your SMS number automatically when you go live. To check your phone number, navigate to the Ascend Desktop > Options > Services > SMS Setup button > SMS Number. Make note of this number and give it out to your customers so they know who the message is coming from. However, customers cannot reply to this number – so make sure they know that, too.
Note: If you’ve been using Ascend for a while but haven’t used the SMS integration in a long time (or ever), we may have disabled your SMS number. Just get in touch with us to reactivate this service.
(multi-store retailers) Each location has its own SMS number. Messages do NOT share between locations.
Customize default messages
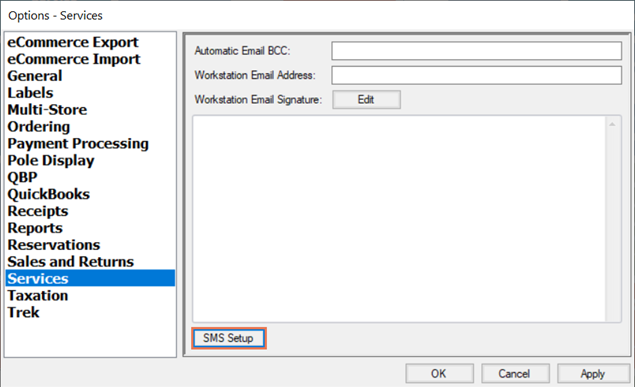
- From the Ascend Desktop, click the Options tile and select Services.
- Click the SMS Setup button (at the bottom of the dialog box).
- Select the tab for the message type you wish to edit. Note: You can always edit the message text at the time of sending.
- Customer Record: The default text for messages sent from the Edit Customer dialog box or Database Explorer > Customers.
- Special Order: The default text for messages sent when a customer’s special order item is received.
- Work Order: The default text for messages sent when a customer’s work order/repair is completed.
- In the Default Message field, enter the text you wish to display when a message is created. Note: Do not remove * Please do not reply to this message – this lets your customers know that the store won’t receive any replies they send.
![Screenshot of SMS Setup with [TransactionNumber] selected. The big box under Default Message is highlighted](https://static.helpjuice.com/helpjuice_production/uploads/upload/image/13568/2498387/default_message_field.png)
- If you want to personalize your messages, double-click a Tag to insert a placeholder. These will automatically be replaced when you send a message.
- CustomerFirstName: The customer’s first name (for Special Orders and Work Orders, this is the customer associated with the transaction or work order detail).
- CustomerLastName: The customer’s last name/surname (for Special Orders and Work Orders, this is the customer associated with the transaction or work order detail).
- LocationLongName: Your location’s full name (Database Explorer > Locations > Name field).
- LocationPhone1: The primary telephone number for your location (Database Explorer > Locations > Phone 1 field).
- LocationPhone2: The alternate telephone number for your location (Database Explorer > Locations > Phone 2 field).
- LocationShortName: Your location’s abbreviated name (Database Explorer > Locations > Short Name field).
- ProductDescription: For Special Orders, the full description for the item ordered (product record > Description field).
- ProductKeyword: For Special Orders, the short description for the item ordered (product record > Keyword field).
- TransactionNumber: The barcode identifier for the Special Order or Work Order.
- UserFirstName: The first name of the user logged in when sending the message.
-
UserLastName: The last name/surname of the user logged in when sending the message.
- An example message displays in the Message Preview field – Tags are replaced with random data so you can see exactly what it will look like to your customers.
- Keep a close eye on the Remaining Characters field – a maximum of 314 characters (including spaces and carriage returns/line breaks) can be entered. If you’re using Tags, be sure to leave enough extra room to account for longer values!
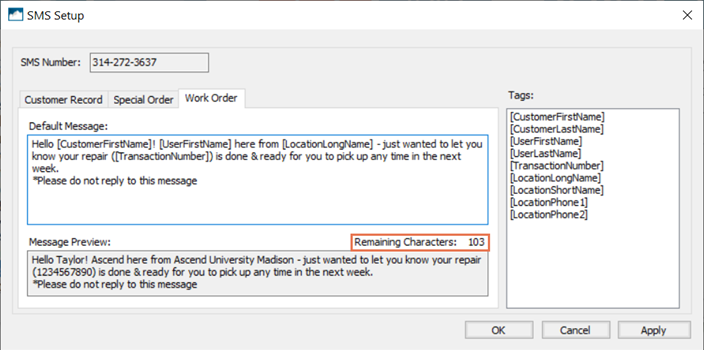
- When you’re happy with your results, click the OK button, then click the OK button again on the Options dialog box.
Additional Resources
KB22-104