
A warranty is a written guarantee, given to the customer from a vendor, promising to fix or replace an item if it is damaged in a specific time period. The type of damages covered may be specific to the warranty.
The vendor who issued the warranty needs to be contacted directly for a warranty claim and they will decide the next steps (to fix or replace the item).
If the claim requires work by your mechanics/service technicians (e.g. a part replacement or installation), be sure to enter a Work Order for this. Article: Process a customer’s repair (work order)
If you are processing a warranty for a Trek product, there's a specific process for those items. Learn about it here: Process Trek warranties
However, there are a few steps you can take to keep Ascend up-to-date during the warranty claim process.
Note
Employees may need the following user permissions:
- Allow Commands in SQL Query Window: Run the Warranty Items report to view the status of a warranty.
- Inventory Adjustments - Add: Create an inventory adjustment to remove warranty returns from stock.
When a customer brings in a damaged item with a warranty
- Create a Return in Ascend.
- You can either add the product(s) by scanning the receipt and checking the item after selecting Return, or by scanning/searching for the item in the transaction screen.
- Verify the item(s) has a negative quantity.
- Double-click the item to edit it.
- Check the Warranty box.
Note: Because the item is a return, its quantity is added back into your inventory (regardless of warranty status). If a manager determines the item cannot be repaired or resold, create an inventory adjustment to remove it.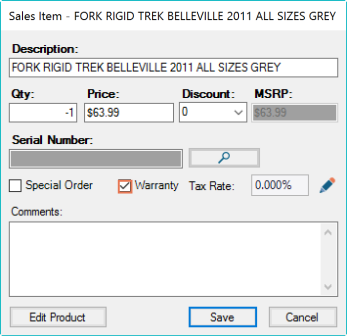
- Select Save.
- The Warranty Item window opens.
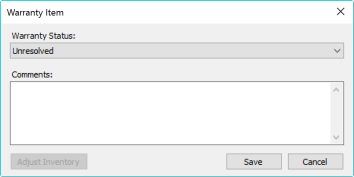
- Update the status if needed.
- Enter any details of the warranty and the damage to the item.
- Select Save.
Then you should save proof of the purchase:
- Select View > Customers from the Ascend desktop.
- Find and highlight the customer.
- In the lower part of the window, select the History tab.
- Expand the Completed Transactions folder.
- Double-click the transaction where the item was originally sold.
- Print a physical receipt.
- Make sure the Print icon is active.
- Select Save in the transaction.
- Or save the receipt as a file.
- Select File > Print Preview.
- Select the Save icon.

- Choose where you'd like to save it, update the filename if needed, and select Save.
- You can also select the Email icon to send a copy to the customer.
Finally, you'll need to revisit and resolve the issue:
- Select the Reports icon from the Ascend desktop.
- Find the Warranty folder on the left and expand it.
- Double-click the Warranty Items report.
- Fill out the Filters window.
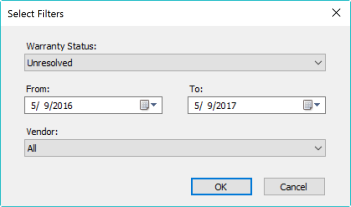
- Select the Status you are investigating in from the drop-down menu.
- Indicate the Date Range you are searching for.
- Specify a Vendor, if needed.
- Click OK.
- The results display.
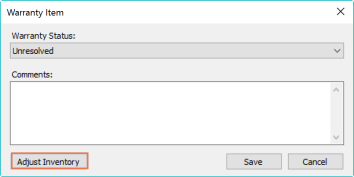
- Double-click on an item to edit the Warranty Item window.
- If needed, update the Status or comments for that item.
- If needed, select the Adjust Inventory button to remove the item from your store's inventory.
When staff find a damaged inventory item with a warranty
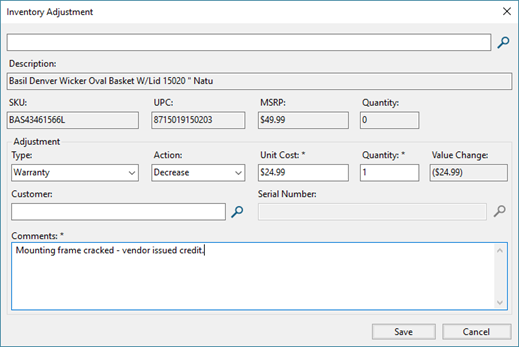
- Select Create > Inventory Adjustment from the Ascend desktop.
- Use the search bar at the top of the window to find the item.
- If needed, select the item from the search results.
- In the Type drop-down menu, select Warranty.
- In the Action drop-down menu, select Decrease.
- Verify the cost in the Unit Cost field.
- Update the Quantity field.
- If the item is serialized, fill out the Serial Number field.
- Enter a description of the warranty issue in the Comments field.
- Click Save to remove the product from inventory.
Inventory Adjustments can be viewed at any time be selecting View > Inventory Adjustments from the Ascend desktop.
Additional Resources
KB22-226