
Permissions Needed:
- Sales - Add: Ability create new Sales or Return transactions (keyboard F6 or F7).
- Sales - Associate Special Orders: Ability to associate special orders to an existing order item.
- Sales - View: Ability to view previously created Sales or Return transactions.
Note: The Deposits, Layaways, Quotes and Work Orders user permission is required to manage other transaction types.
Create a sale in Ascend
- Select the Sale icon on the Ascend desktop.
- A prompt to Select Customer pops up. Use the search bar to find and select your customer or add if they are not currently in your database.
- The dropdown menu defaults to Last Name or what your store has designated as the default search method in Options > Sales and Returns.
- To learn how to add a customer check out our article Customers - Create.

- Select OK.
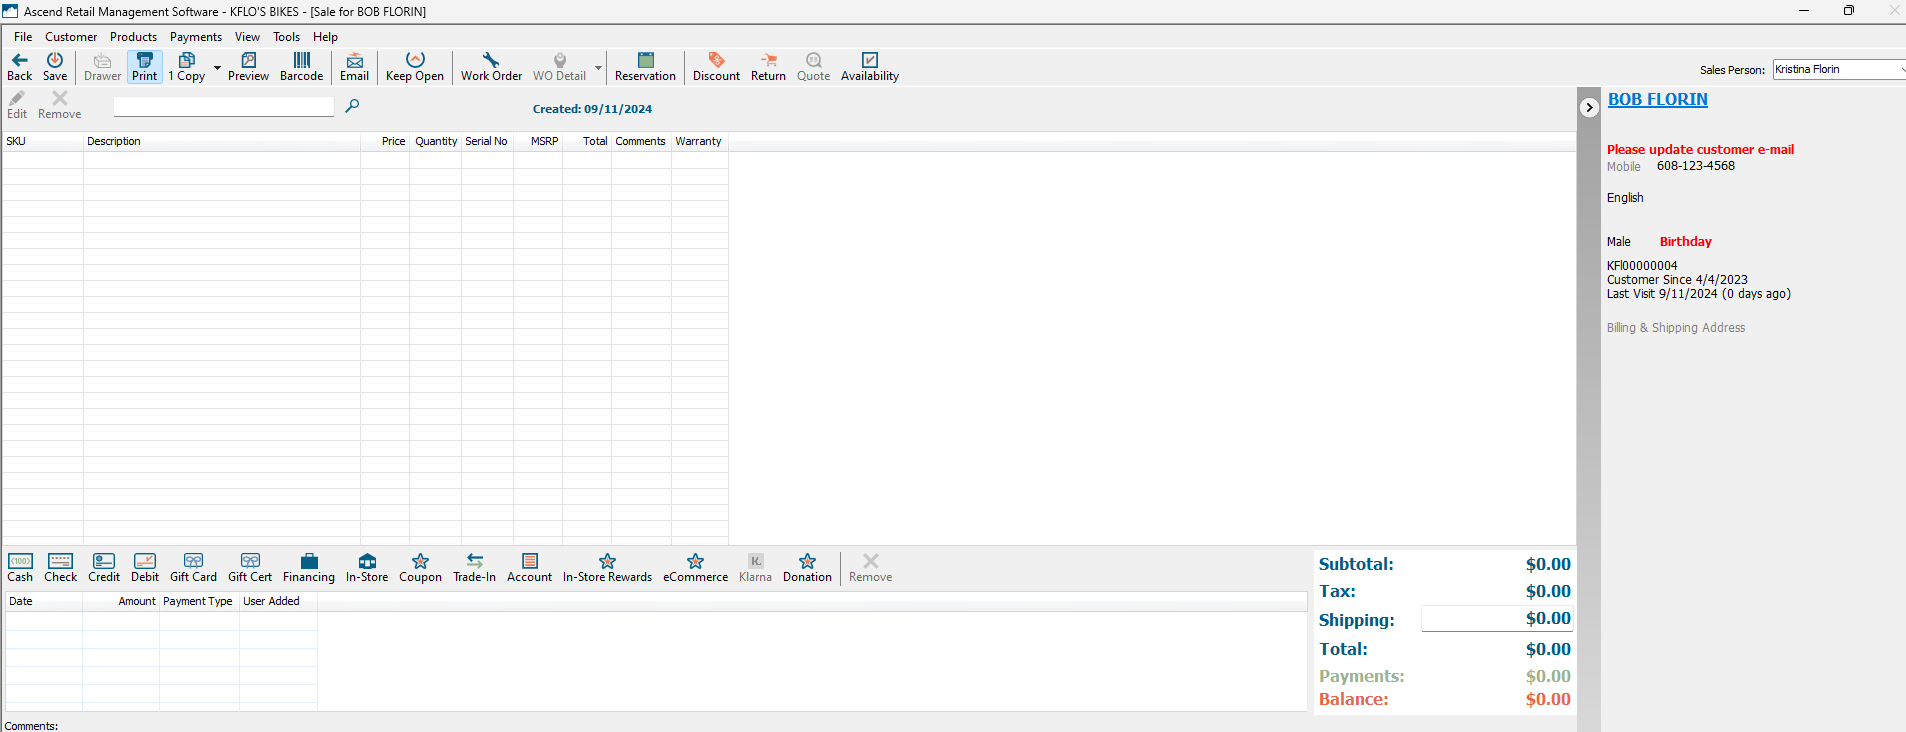
- The transaction screen opens. Check the Customer Panel on the right-hand side to verify or add any additional information to the Customer Record. To learn more about the Customer Panel check out our article Customers - Customer Panel.
- Start scanning the customer's products into the sale.
- Note: If you are unable to scan an item, or the scan code doesn't pull up the correct item, you can use the product search bar to find the item using it's UPC, SKU, Part Number, Description, etc. If the search brings up multiple items, double-click the one you want to add to the sale.
- If you select the item and receive a Special Order prompt, check out the Sales - Special Orders article.
- If you'd like to apply a Discount to the transaction please check out the Sales - Discount items on a transaction article.
- If you need to edit any of the line items, double-click on them to open the Sale Item window. Just remember that any changes made to pricing only affect this particular sale.

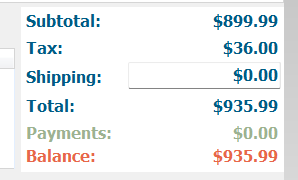
- Once all products are scanned, verify the Total with the customer.
Taking Payment
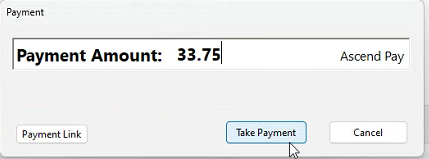
- Select the appropriate Payment Type from the Payment Types bar.
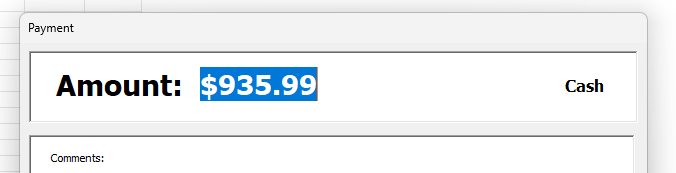
- Verify the Amount with the customer.
- For Ascend Pay or Chase Credit and Debit card payments, select Take Payment. For everything else, select Save.
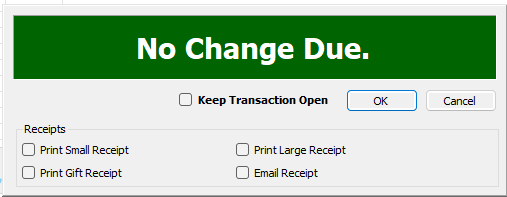
- If the customer paid in full, the Change Due window will open in Green and you can select a Receipt option, if needed.
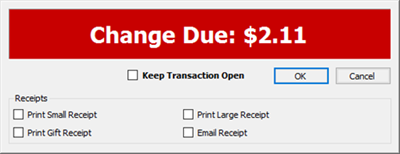
- If the customer paid over, the Change Due window will open in Red and let you know the Change Due. You can select a Receipt option, if needed.
- If the customer did not pay in full or there is a Special Order associated, you can Save the transaction. It will be marked as a Layaway and remain open until the full amount is paid.
Split payments
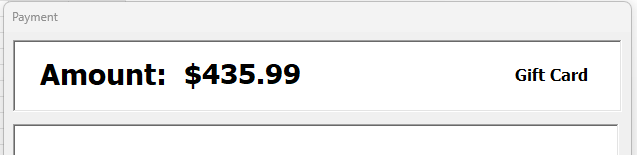
- Select the appropriate Payment Type from the Payment Types bar.
- Once selected the Payment screen the Amount will default to the Balance due.
- Change the amount to the appropriate Amount the customer wishes to pay with that Payment Type and then click Save.
- You will now see the payment applied and the new Balance due.

- Select the next appropriate Payment Type from the Payment Types bar. Again, the Amount will default to the Balance due.
- Click Save. If that Amount is for the Balance due, the Change Due window will open and you can select a Receipt option, if needed.
- Click OK or hit Enter on your keyboard to close the Change Due window.
Incorrect Payments
Uh oh - was that payment made in error? Whether it was the wrong payment type, wrong amount entered, or something else - Ascend can help.
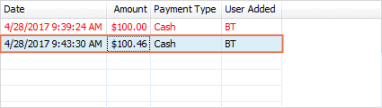
On the day the incorrect payment was made, changes can be made easily. Most of the time, you can simply highlight the payment on the transaction screen, then click Remove. The removed payment will appear in red.
Same Day Void - Credit or Debit Payments
Ascend Pay: If you catch the incorrect payment the same day, you can void the Ascend Pay payment. For more information, check out our article: Ascend Pay - Process a Refund (Same Day Void).
For incorrect payments discovered on a different date, contact Ascend Support to assist with a remote refund. Ascend Pay - Process a Remote Refund (card not present).
Chase: If you are integrated with Chase and using an Ingenico payment terminal, it does not matter if you select Credit or Debit for the payment type. The device will prompt the customer correctly either way.
Note: Debit, and NFC payments cannot be voided. But you can create an offsetting payment to give the customer their money back. Simply select Credit, enter a negative amount - it'll display in parentheses, such as (49.99)- and then process the card once more.
Once the incorrect payment is gone, you can see the updated sale Total and take the correct payment.
Transaction Comments vs. Customer Notes
If you're unsure where to add comments or additional information, we're here to help! Transaction Commentsprint on the customer's receiptand are ideal for tracking communication with the customer, such as noting if they cannot pick up their special order until a certain date.
On the other hand, Customer Notes are linked to the Customer Record and are perfect for recording touchpoints or memorable details about the customer (e.g. they're participating in a race or bought a bike for their child, etc.).

Receipt options
On the Change Due screen, you might notice a checkbox or two marked by default. You can check/uncheck the Receipts print options and click OK.
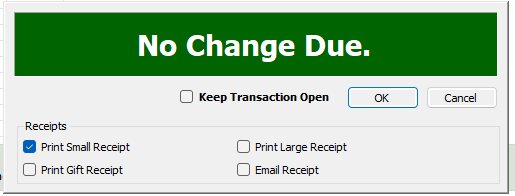
- Print Small Receipt: Prints a standard customer receipt from the Epson receipt printer.
- Print Large Receipt: Prints a standard customer receipt to the designated report printer or pdf program. If you'd like to learn more about printing large receipts, check out our article Sales - Print a large receipt.
- Print Gift Receipt: Prints a gift receipt for this transaction.
-
Email Receipt: If you are looking to cut down on paper, Email the customer a receipt copy. When you click this option and click OK the email will generate for you to send to the customer.
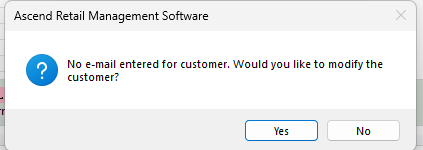
- If the customer's Email, was not captured you will receive a prompt “No e-mail entered for customer. Would you like to modify the customer?” By clicking Yes, you will be brought into the customer record to make that update. By clicking No, the transaction will close out without printing a receipt.
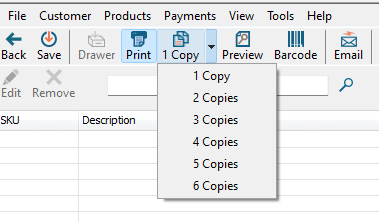
Printing multiple receipt copies
From within the transaction screen, at the top toolbar you can click Copy and select the number of Copies you'd like to print. Once you Save the transaction or click OK from the Change Due window, the designated receipt copies will print.
If you want to change your default receipt settings, that must be done through the Options. Please check our article: Hardware - Install the Epson Receipt Printer for more details. If you'd like to learn how to reprint a receipt, check out our article, Sales - Reprinting Receipts.
Looking to learn more information about performing a Return in Ascend? Check out Sales - Create a Return.
Additional Resources
KB22-011