
The Motorola/Zebra MC2180 inventory scanner increases both the speed and accuracy of inventory counts.
Note: The scanner must be charged for 24 hours before the first use.
Connect Hardware
- Connect the USB sync cable to the back of the cradle.
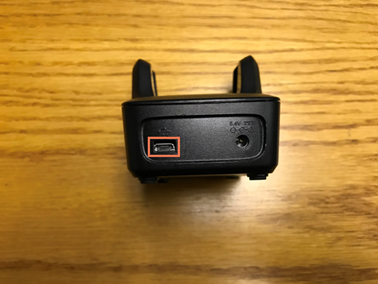
- Plug the other end of the USB cable into the back of the computer.
Note: Other USB ports (e.g. on the computer monitor, the front of the computer, a USB hub) may not receive sufficient power for the device. - Plug the power cord into the back of the cradle.
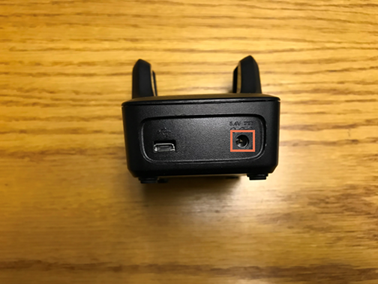
- Plug the power cord into the wall.
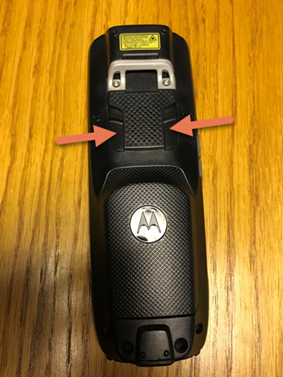
Install SD Card
Note: Do not use greater than a 32 GB microSD card.
- Pull up on the latches on either side of the laser to release the battery compartment panel.
- Slide the card cage down until it releases.

- Insert the SD card with the label side facing up.
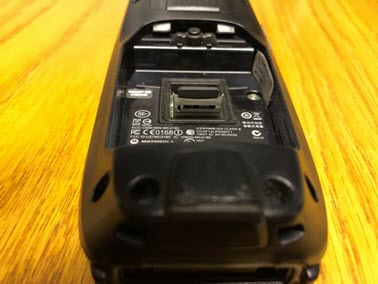
- Slide the card cage up until it locks. A "click" sound indicates when the cage is properly secured.
Install Battery
The battery is integrated into the battery compartment panel - simply insert the battery in the compartment.

Install AscendScan
Note: The installation process can take up to 30 minutes to complete. Do not remove the scanner from the cradle until the installation is complete.
- Download the AscendScan software (log into www.ascendrms.com).
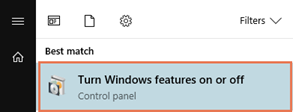
- Click the Start menu and search for Turn Windows features on or off.
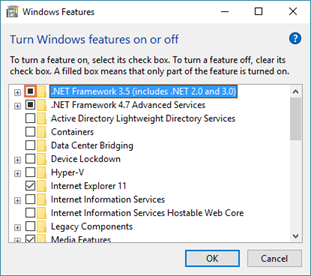
- From the Turn Windows features on or off dialog box, check .NET Framework 3.5 (includes .NET 2.0 and 3.0).
- Click OK.
- From the Windows needs files from Windows Update to finish installing some features dialog box, click Download files from Windows Update.
- From the Windows completed the requested changes dialog box, clock Close.
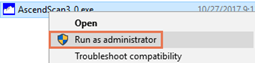
- Right click the AscendScan installer.
- From the displayed menu, select Run as Administrator. The AscendScan Installation Wizard displays.
-
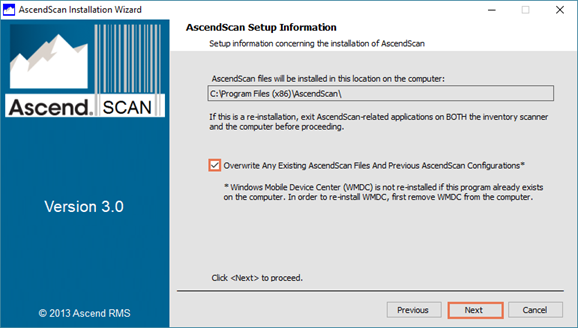
Welcome to the AscendScan Installation Wizard: Click Next.

- Check Overwrite Any Existing AscendScan Files And Previous AscendScan Configurations and click Next.
- If required, turn on the scanner by pressing the power button once. Do not hold the power button.
- Place the scanner in the cradle.
- If the Windows Mobile Device Center dialog box displays, close it.

-
Windows Mobile Device Center Setup: Click Next.
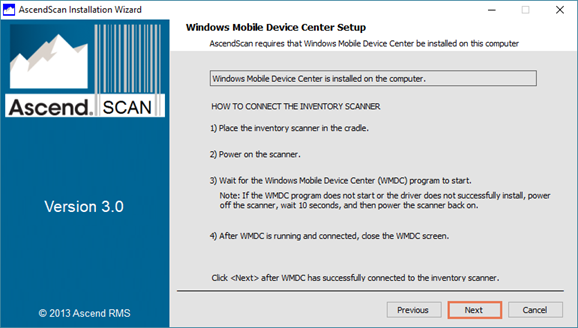
- If the Calibration screen displays on the scanner, press Esc on the keypad.
- When the Windows Mobile Device Center dialog box displays, close it.

-
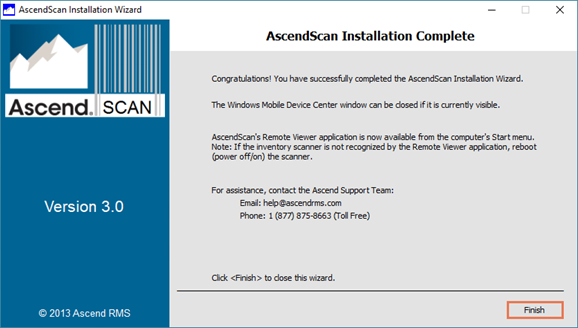
AscendScan Installation Complete: Click Finish.
Additional Resources
KB22-083