
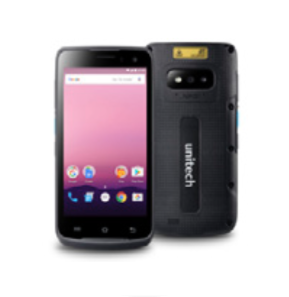
This is the Unitech EA500 Plus Inventory scanner paired with Ascend Scan 4.0 software and optional grid sled for easier scanning.
 |
 |
At this point in the inventory process, you should have your store Prepare for a full-store physical inventory and an Inventory Event created (see Using the Inventory Center for Cycle Counts and Full-store Physical Inventory). The next step is configuring your Unitech EA500 Plus Inventory scanners with your event. Please note that a strong WiFi network is needed to configure these scanners with Ascend! While the Inventory Center works best with the WiFi-connected Unitech EA500 Plus scanners, it is compatible with the MC2180 scanner. You’ll just have to add a couple extra steps for those scanners (see Import scan files from an MC2180 Inventory scanner).
Make sure your scanners are fully charged before your inventory event. We recommend configuring the scanners the day before as well, to avoid any delays on the day of the full-store inventory.
Note
Your EA500 Plus scanner must be connected to the same network as your server computer (NOT the computer running the Inventory Center). You may need to enable AP mode on your WiFi network - contact a network or IT professional for assistance.
Customized router settings, firewalls (either configured in the router OR an external, physical firewall), or other non-standard configurations may prevent connection between the scanner and the computer running the Inventory Center. If all Ascend services are running (see Handling internet outages or connection issues), Configure the Windows® settings for Ascend on the computer, and your scanner is still unable to connect, contact a network or IT specialist in your area for help.
Domain networks are not supported, and may not function properly.
Meraki users: Connect to the {Store name} - DATA network. This network is already configured to work with the Inventory Center and AscendScan 4.0.
Configure your EA500 Plus scanner with Ascend
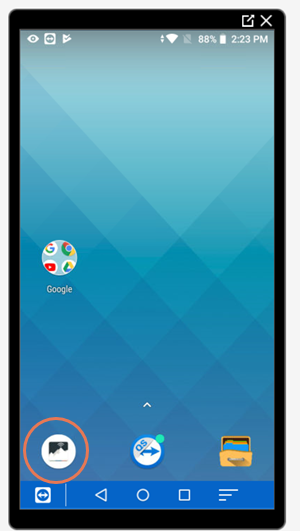
- On your scanner, select the Ascend Scan icon.
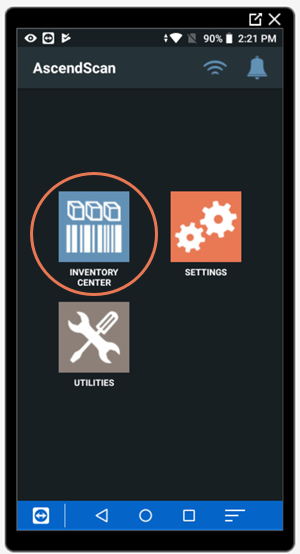
- Navigate to Inventory Center.
- If this is the first time the scanner is being used, you will be prompted to Configure the device.
- Click Ok.
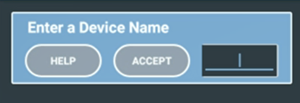
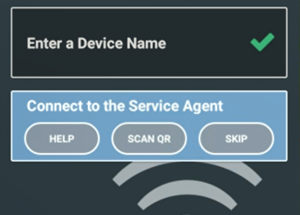
- Enter a Device Name for this scanner. Each scanner should have a unique name so you can tell them apart. Then click Accept.
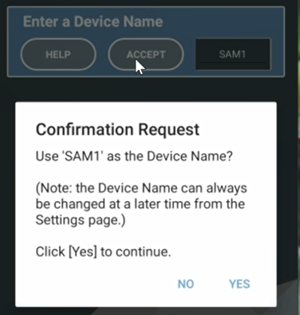
- A prompt to confirm the name opens. Click Yes.
Note
If needed, you can edit the name later in the Settings area of Ascend Scan.
- Next, you need to connect to the Ascend Service Agent.
- In Ascend, navigate to your Inventory Event (see Using the Inventory Center for Cycle Counts and Full-store Physical Inventory).
- If needed, connect your Ascend Agent with your WiFi. You can do this even if the computer is connected via Ethernet cable. Note: Your WiFi connection must be on the same network as your Ethernet network.
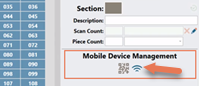
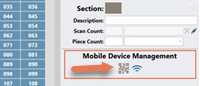
- Select the WiFi icon in the Mobile Device Management section on the right.
- Add your WiFi Network name and your WiFi Password here.
Note: These fields are case-sensitive.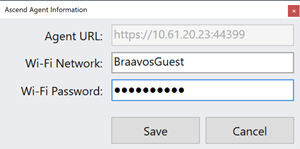
- Then select Save.
- Select the WiFi icon in the Mobile Device Management section on the right.
- Click the QR Code icon in Mobile Device Management to open a scan code.
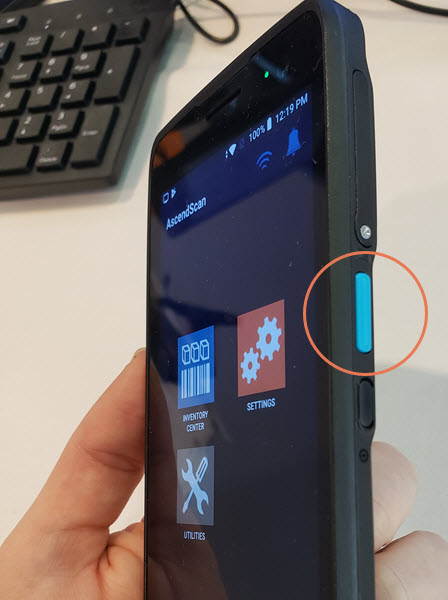
- Go back to your Unitech EA500 Plus scanner. Click Scan QR.
- Then press one of the blue buttons on either side of the scanner to scan the code on your screen. The QR code in Ascend should display a green checkmark when the scanner connects successfully!
- The scanner should let you know configuration is completed. Click OK and the scanner should now run through an Initialization Checklist before heading back to the main screen.
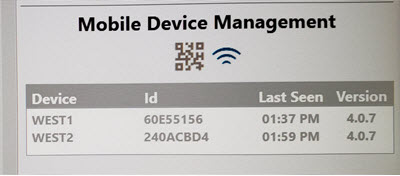
- Back in the Inventory Center in Ascend, you can easily check the Mobile Device Management area to confirm all the scanners connected successfully.
Update your EA500 Plus scanner Settings
Start on the main screen of Ascend Scan on the EA500 Plus scanner.

Navigate to Settings.

In Settings, you can:
- Switch the language,
- Change the Device Name,
- Set the volume for "good" and "bad" scan beeps
- Set if the scanner should vibrate for "good" or "bad" beeps
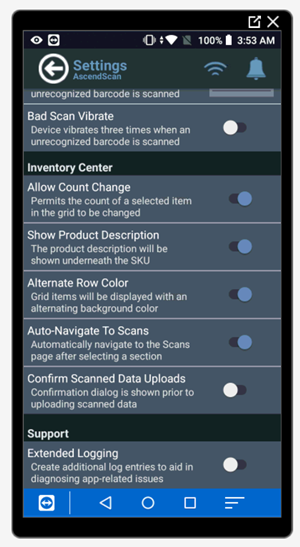
- Decide if item count numbers can be changed on the scanner, during the Scan Count
- Show Product Descriptions while scanning
- Alternate Row colors (to see item information more easily)
- Auto-navigate to scan screen after you select a section to scan
- Receive a confirmation screen when you submit Section data
- Create additional logs behind the scenes to diagnose app-related issues as needed
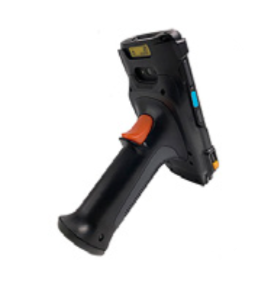
Attach the sled grip (also known as the trigger or gun) to the scanner
You should be able to easily slide the scanner onto the grip and have it start scanning! If it does not work then check these settings:
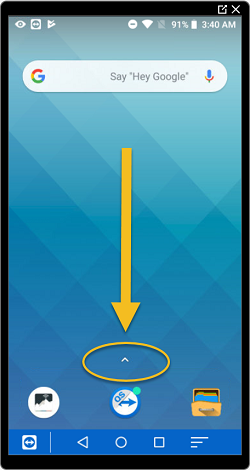
- Start on the scanner home screen (not AscendScan). Click the home icon in the center on the bottom to get to the home screen.
- Click the small up arrow above the home icon to open the apps menu.
- Click the scanner app.
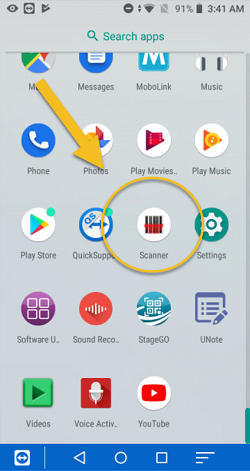
- Click the settings icon in the upper right.
- Verify that Scan Handle is checked (or check the box if it's not).
- Verify that Keyboard output mode is unchecked (or uncheck the box if it is checked).
Exit this screen by selecting the home icon again and re-try attaching the grip.
Additional Resources
KB22-080