
Serialized items are often big ticket and high maintenance. Ascend makes it easy to manage your products from receiving to the sale transaction.
Note: To ensure your serialization records match your inventory, periodically run the Inventory > Serial Numbers Not Matching Quantity on Hand report.
Serialization in Database Explorer
When you navigate to Database Explorer > Serialization from the Ascend desktop, you'll see a few subfolders:
- Assembled Not Sold
- Assembled Sold
- Not Assembled Not Sold
- Assembled Not Sold
You can go into any of the subfolders to look for items that fall under that category.
Or you can stay in the main Serialization folder and search through all serialized items. You can search by Description, Space, Assembled Date, and Customer using the search dropdown menu.
And you can reorder the layout of the grid in a way that makes sense for you. Click and drag individual column headers to put them where you'd like. Ascend will remember your settings and default to that setup whenever you're logged in.
To sort by a particular column, click the header. You can filter by hovering your mouse over the column header to reveal the Filter icon. Then select your choice using the menu.
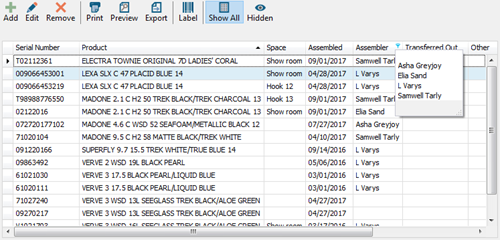
You can add or remove columns by right-clicking on a column header and select Column Chooser from the dropdown menu. Simply drag and drop columns into or out of the grid.
The icons above the grid provide an easy way to add a new serial number, edit existing serial numbers, removing a serial number, and exporting the grid.
Use the Show All icon to view all records in a given folder. Select the Hidden icon to view previously removed serial numbers.
Add a new serial number
- Click the Add icon to open the Add Serial Number window.
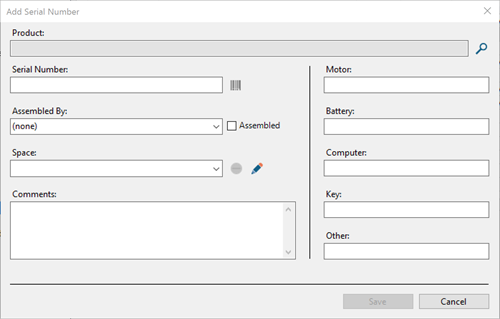
- Click the search icon (magnifying glass) to find the product.
- Add the serial number in the Serial Number field. You can print a serial number label here by selecting the label icon.
- If the item has been assembled you can credit a technician for the build by selecting them from the Assembled By field.
- Select the Assembled box if needed (Ascend auto-checks this box if you select a technician).
- Use the Space field if the item will be stored in a pre-defined space in your shop.
- If there are additional serialized parts, fill out the Motor, Battery, Computer, Key, or Other fields.
- Add any additional notes in the Comments section.
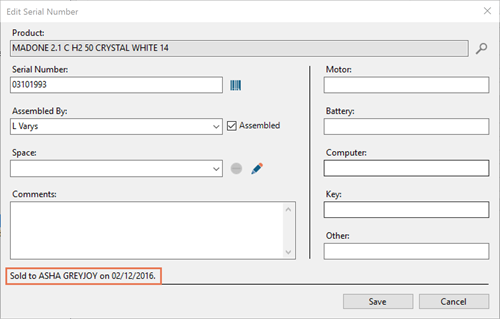
Customer information
If the serialized item has been sold, the customer information and sold date appear in the bottom of the box. If the item is part of an open Layaway, Ascend will display the date the item was added to the transaction. Once the sale is closed, the record will show the closed date instead.
Additional Resources
KB22-120