
Ascend Pay makes processing a sale a breeze. Follow the steps below to process a sale and take payment with AscendPay
- Select the Sale icon on the Ascend desktop.
- A prompt to select a Customer pops up. Use the search bar to find and select your customer. The dropdown menu defaults to Last Name but you can select another option if needed.
- Select OK.
- The transaction screen opens. Start scanning the customer's products into the sale.
Note
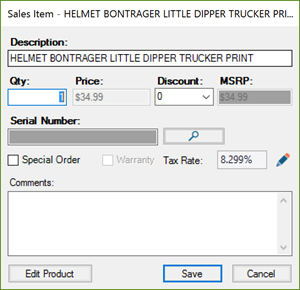
If you are unable to scan an item, or the scan code doesn't pull up the correct item, you can use the product search bar to find the item using it's UPC, SKU, Part Number, Description, etc. If the search brings up multiple items, double-click the one you want to add to the sale. - If you need to edit any of the line items, double-click on them to open the Sale Item Window. Just remember that any changes made to pricing only affect this particular sale.
- Once all products are scanned, verify the Total with the customer.
- Select the Ascend Pay payment type.

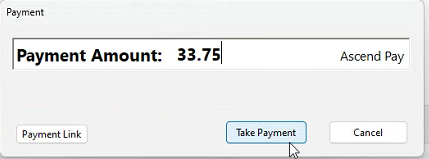
- Verify the Amount with the customer.
- To use a physical card or contactless payment, select Take Payment.
- To use Payment Link follow these steps Ascend Pay - Pay by Link
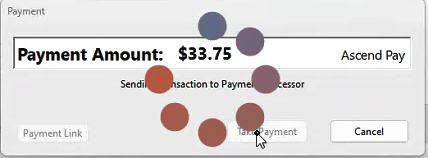
- Wait for the transaction to send to terminal
-
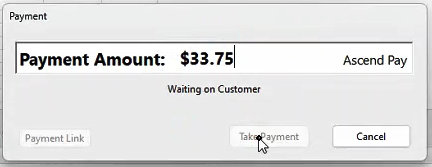
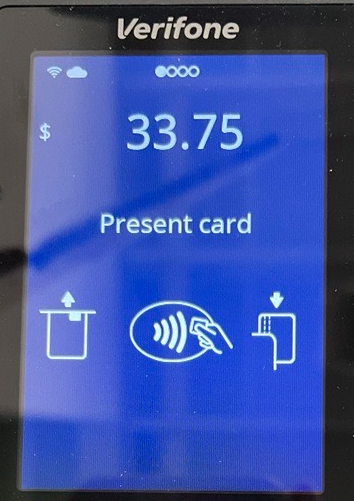
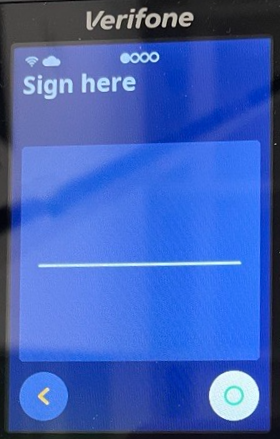
- When you see waiting on customer, have the customer follow the prompts on the terminal screen
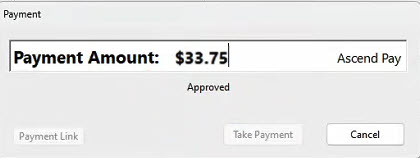
- After the customer completes payment on the terminal the Payment Window will show Approved and automatically save the payment to the transaction.

- Success! View settled payments on Ascend HQ in 2 business days.
Not seeing the Approval message on Ascend?
Call our support team to investigate! (877) 875-8663