
Sectioning up your store ensures efficiency and accuracy in your full store inventory counts. Breaking the store into small sections allows multiple people to scan at the same time without accidental crossover and duplicate scans. A piece count (physical item count) of each section identifies the inevitable mistakes made while scanning.
The Inventory Center in Ascend tracks the progress of the inventory count along with discrepancies in piece counts. The Inventory Center also gives you a quick view of your inventory count’s progress so you can have a good idea of what’s left in the process. Article: Using the Inventory Center for Cycle Counts and Full-store Physical Inventory.
Materials you’ll need
- Blue painter’s tape: We recommended this type of tape because it’s highly visible and removes easily, so it won't damage surfaces.
- Section numbers: Print out section numbers in a large font on brightly colored paper so they are easily identified. You may also wish to send the files to local print shop to print, cut to an appropriate size, and/or laminate for repeated usage. Printable section number template sheets, including barcodes to quickly switch sections on the inventory scanner, are available on the Ascend Retailer Portal.
-
Writing utensils: Markers, pens, and/or pencils for initialing completed sections. This will help you to avoid duplicated scans or physical item counts.
Note: If you’ve laminated your section numbers, you can use dry erase markers for initials so they can be wiped clean after the inventory count is over. - Boxes/containers to hold products: These will hold “bad beep” items - items which are not recognized by the inventory scanner(s). These items should be set aside for investigation outside of the section’s scanning – this will let your employees keep moving and help them keep their place in the scan (rather than stopping everything to investigate an item and forgetting which items were previously scanned). These items will be scanned and counted as their own section after investigation is complete.
Guidelines & tips
- Keep sections small - no more than 50 to 75 items, tops.
- The ENTIRE store will be sectioned – including your service center and back-stock areas.
- An average store has 150+ sections. Very small stores may have less, but most stores will have AT LEAST this number – larger stores will have many more sections.
- You'll have sections - likely even multiple sections - for the different types of display cases in the store: shelves, hanging displays, wall displays, mobile displays, endcaps, counter displays, showroom, ceiling, tech center, store room, etc.
- Use natural divisions in the store.
- Pull down product that is too high to reach, e.g. wheels and tires.
- Similar SKUs and products do NOT need to be grouped in same section – keep everything laid out the same way you have it set up for a regular business day.
Note: Cycle counts are performed by category, not by store section. - Remember to write any special notes about the section on the section number sheet (e.g. Include items on the mannequin).
Note: All inventoried items MUST be counted. If you’ve already removed some items in the section from inventory, such as display items, be sure to note this on the section number sheet, too – the goal is to keep your employees in the section for as short a period of time as possible, while still ensuring the scan or count accuracy. - Try to corral all products which are committed to a customer, repair items, rental items, unreceived vendor/supplier orders, (multi-store retailers) transfer items which have not yet been checked in or which have been checked out but not physically sent to the destination location, and other non-inventoried products into one spot in the store. Be sure to tape these sections off, too – and clearly label them so no one accidentally scans them.
- Your service center should also be divided into sections – since there are so many small parts, each drawer/basket can often be considered a section of its own. However, DO NOT count any items you don’t normally keep an inventory count for (e.g. ball bearings, screws) – try to keep these items in their own drawers/baskets to avoid confusion. And again, be sure to clearly describe the purpose of this section on the section number sheet to avoid confusion.
- Tape outlines on the floor around products to clearly define sections.
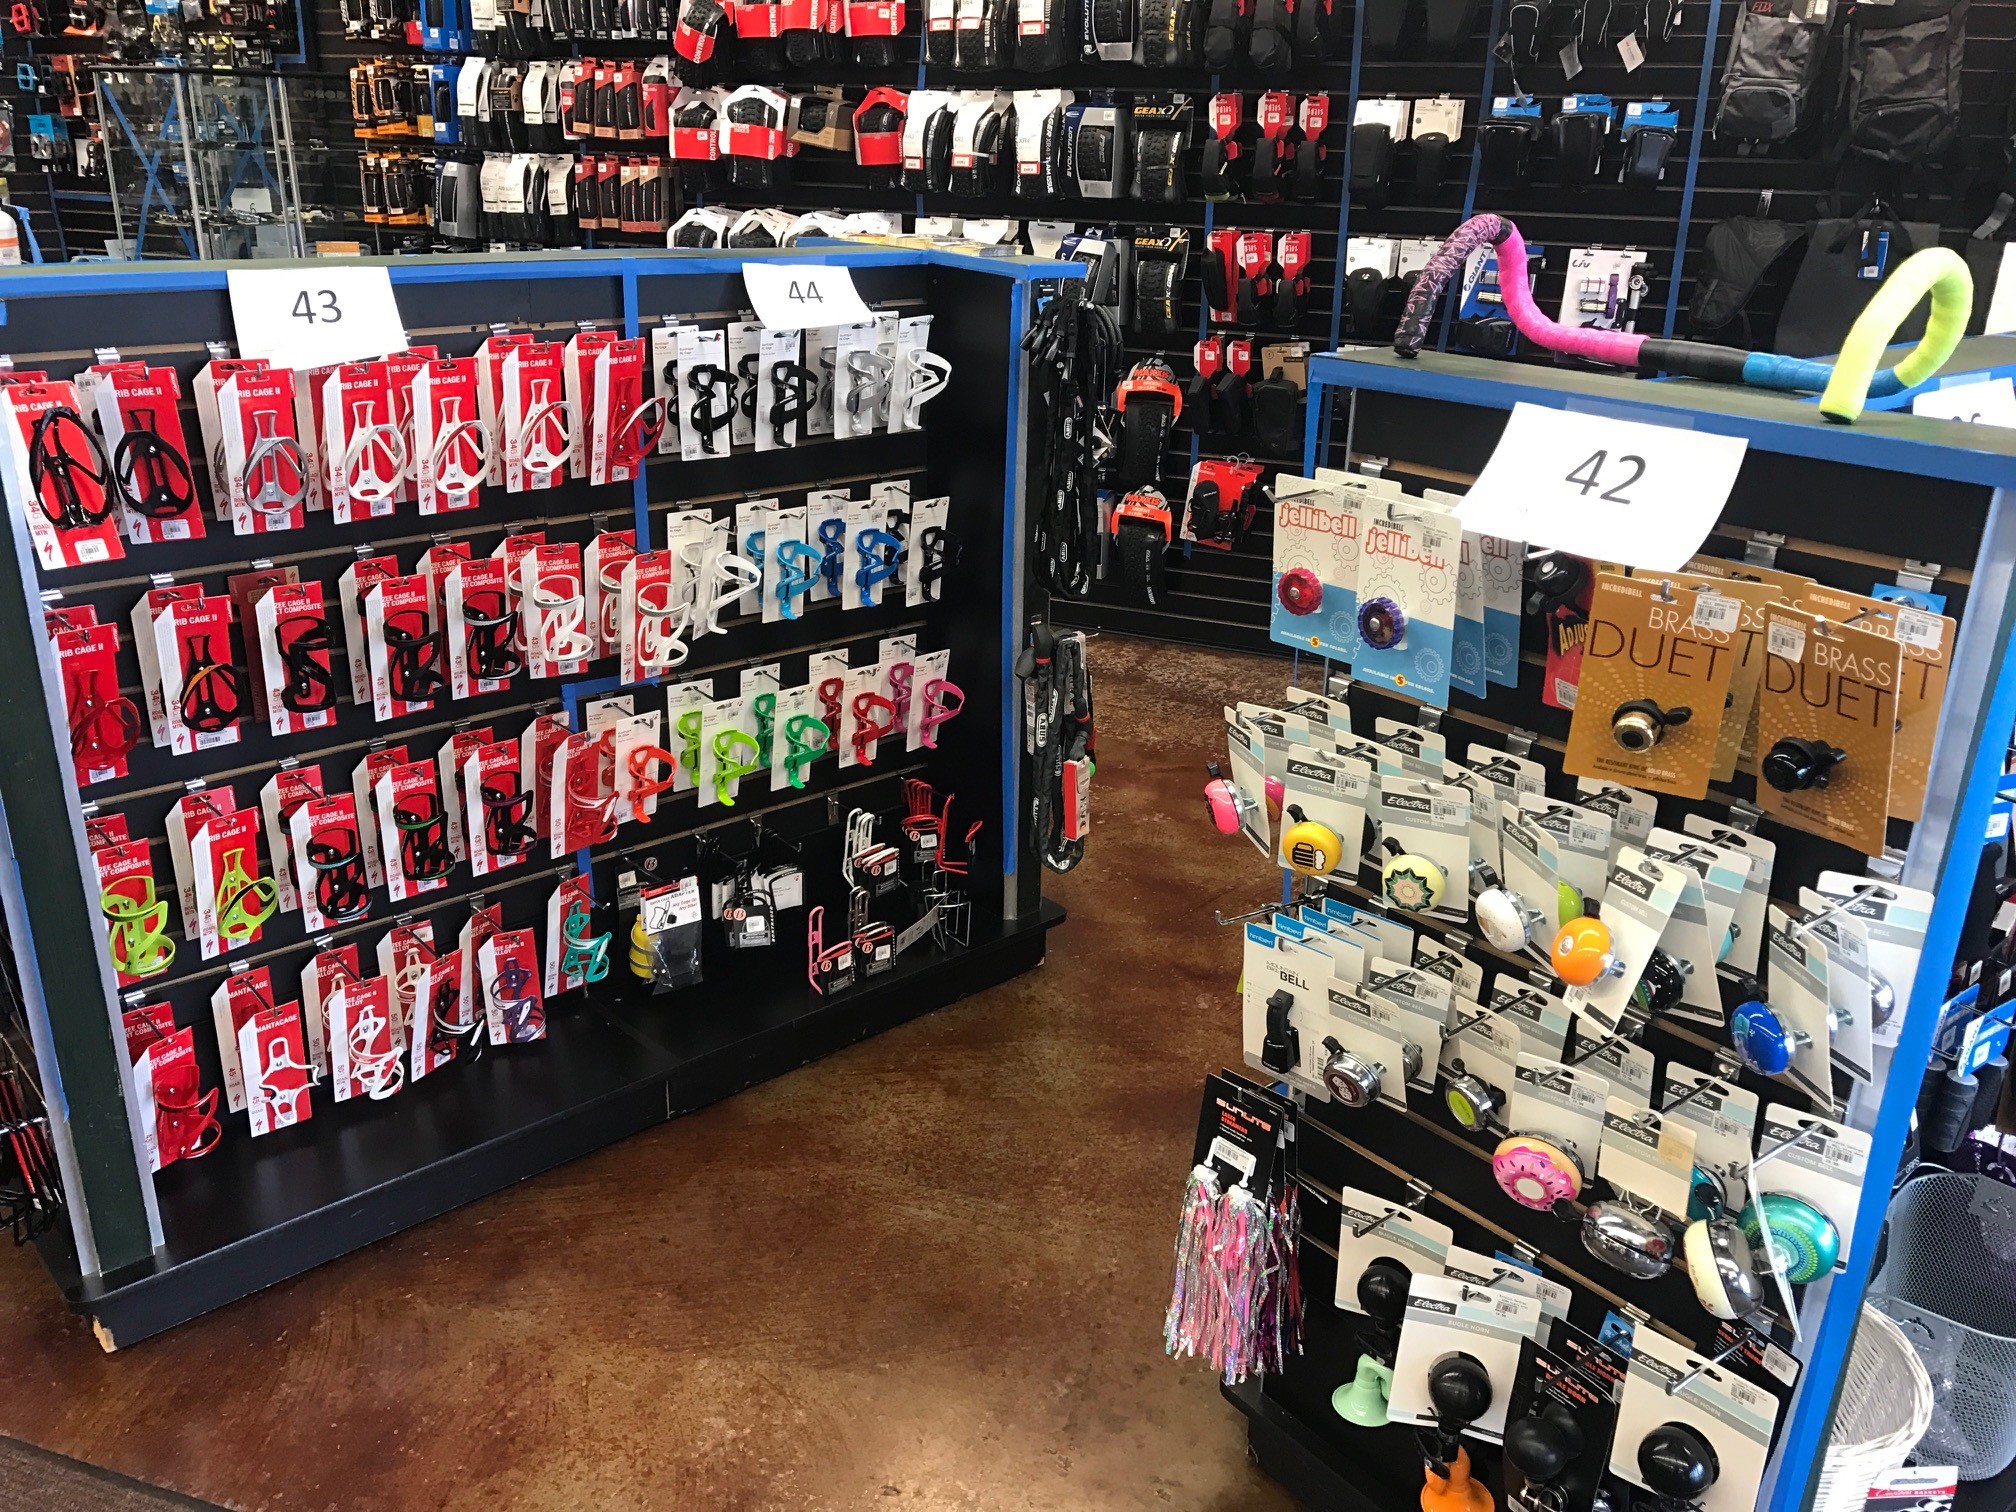
Section examples
Most floor displays can be divided with one section per side, but some may need to be further divided (as shown in the bottle cages below).
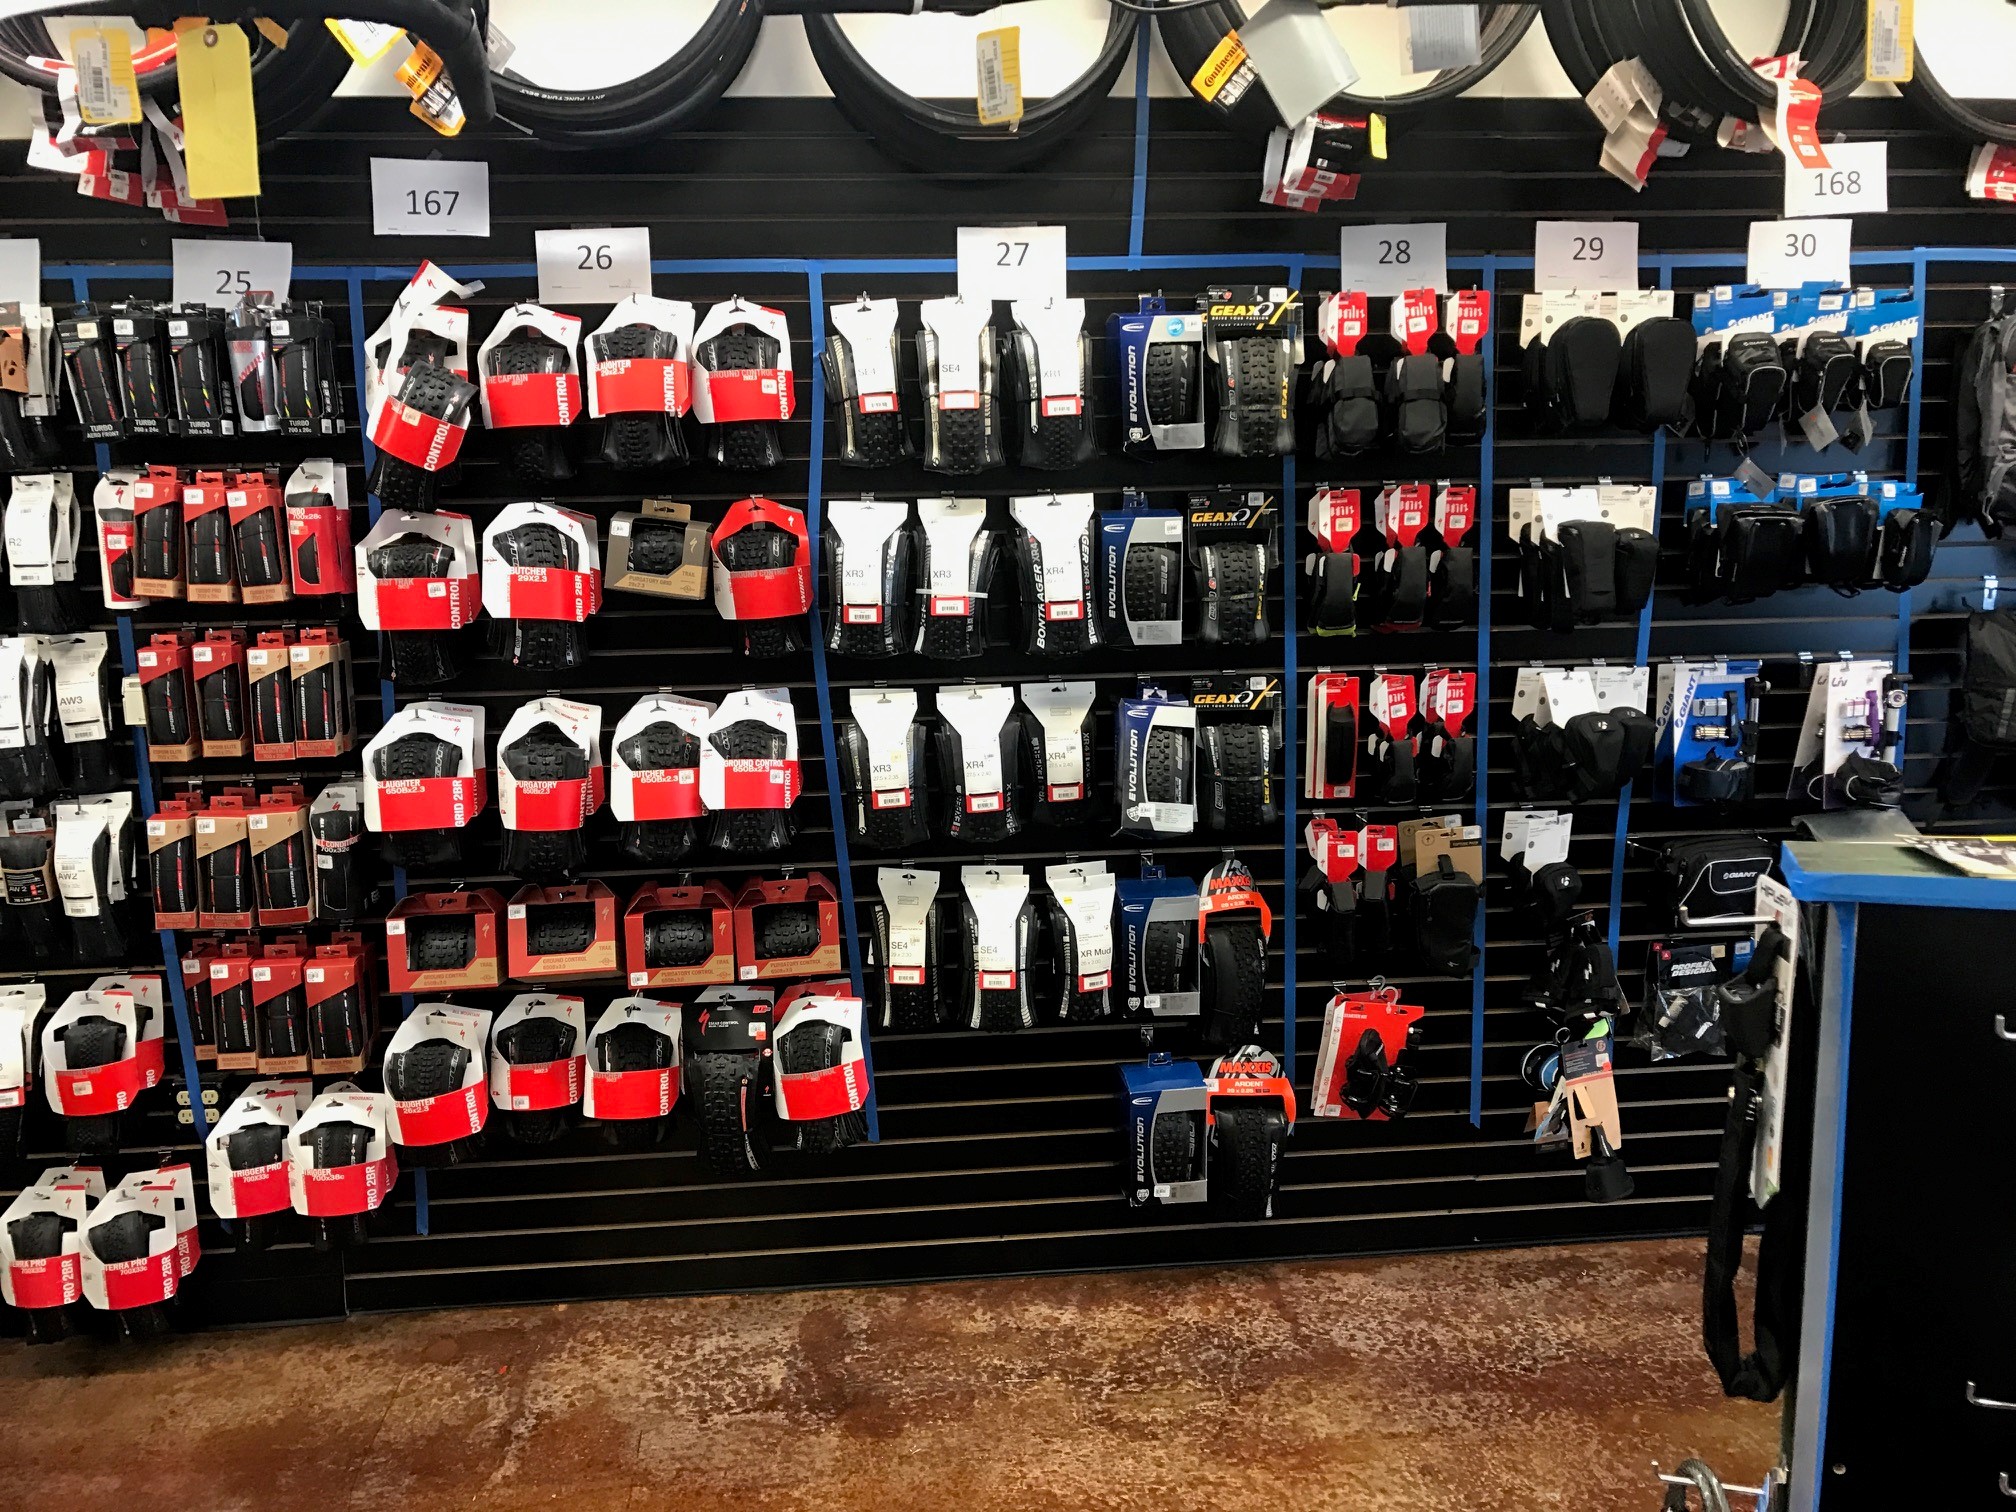
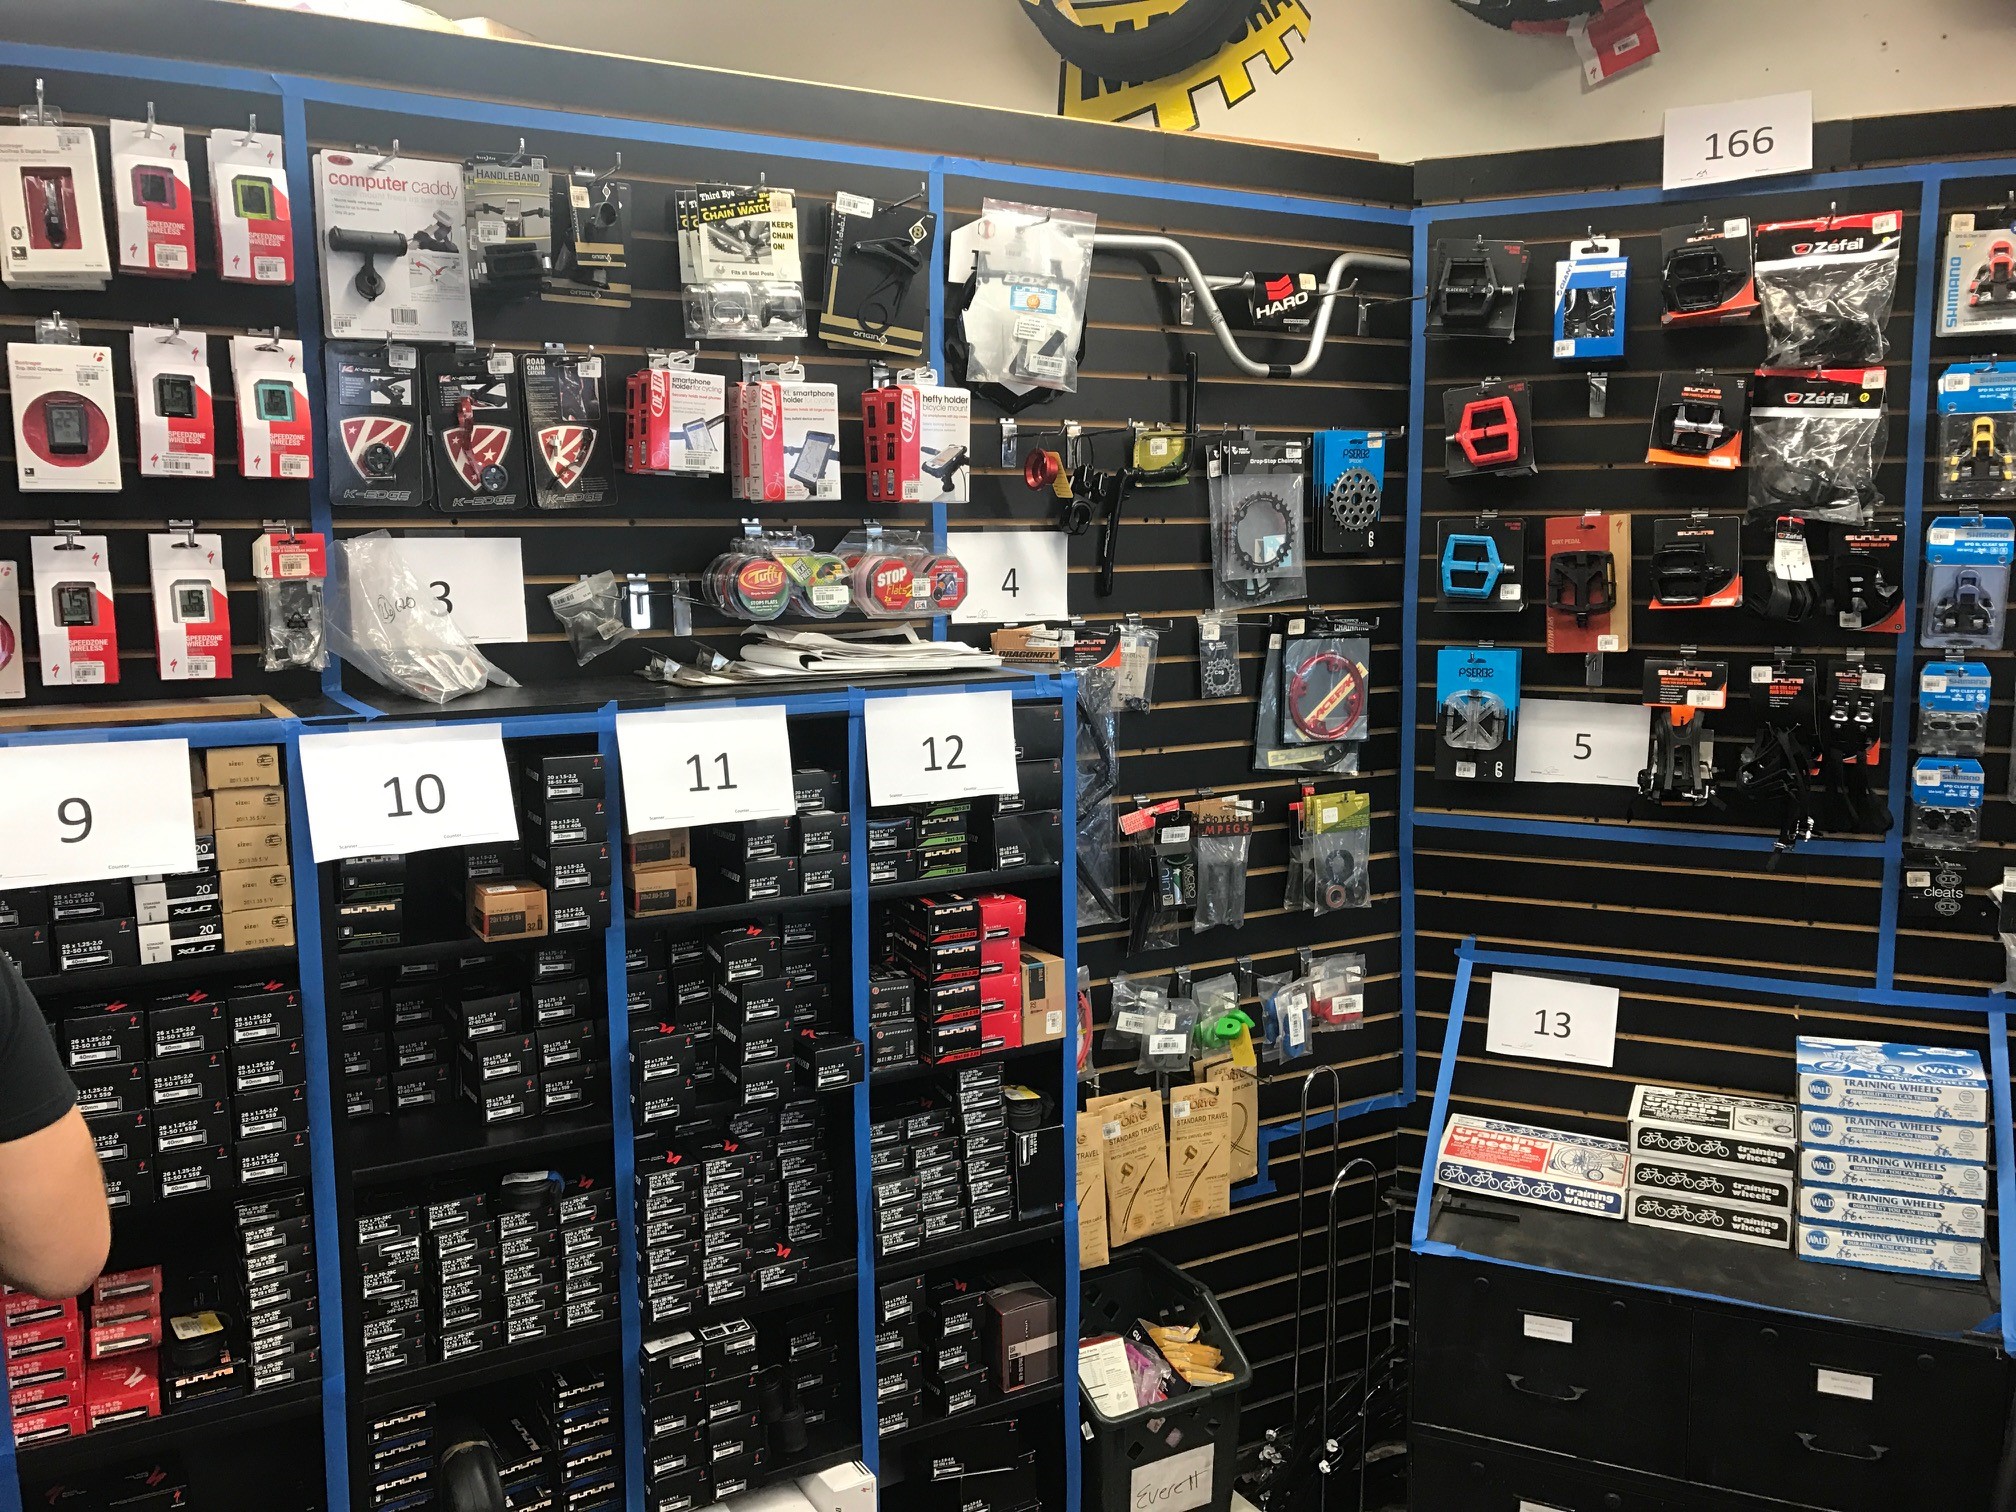
Item on slat walls should be divided into groups of 25-75 with lines of blue tape.
Shelves and “cubbyholes” can be numbered separately or combined together, depending on the number of items on them. If multiple shelves are combined, be sure to notate that on the section number sheet.
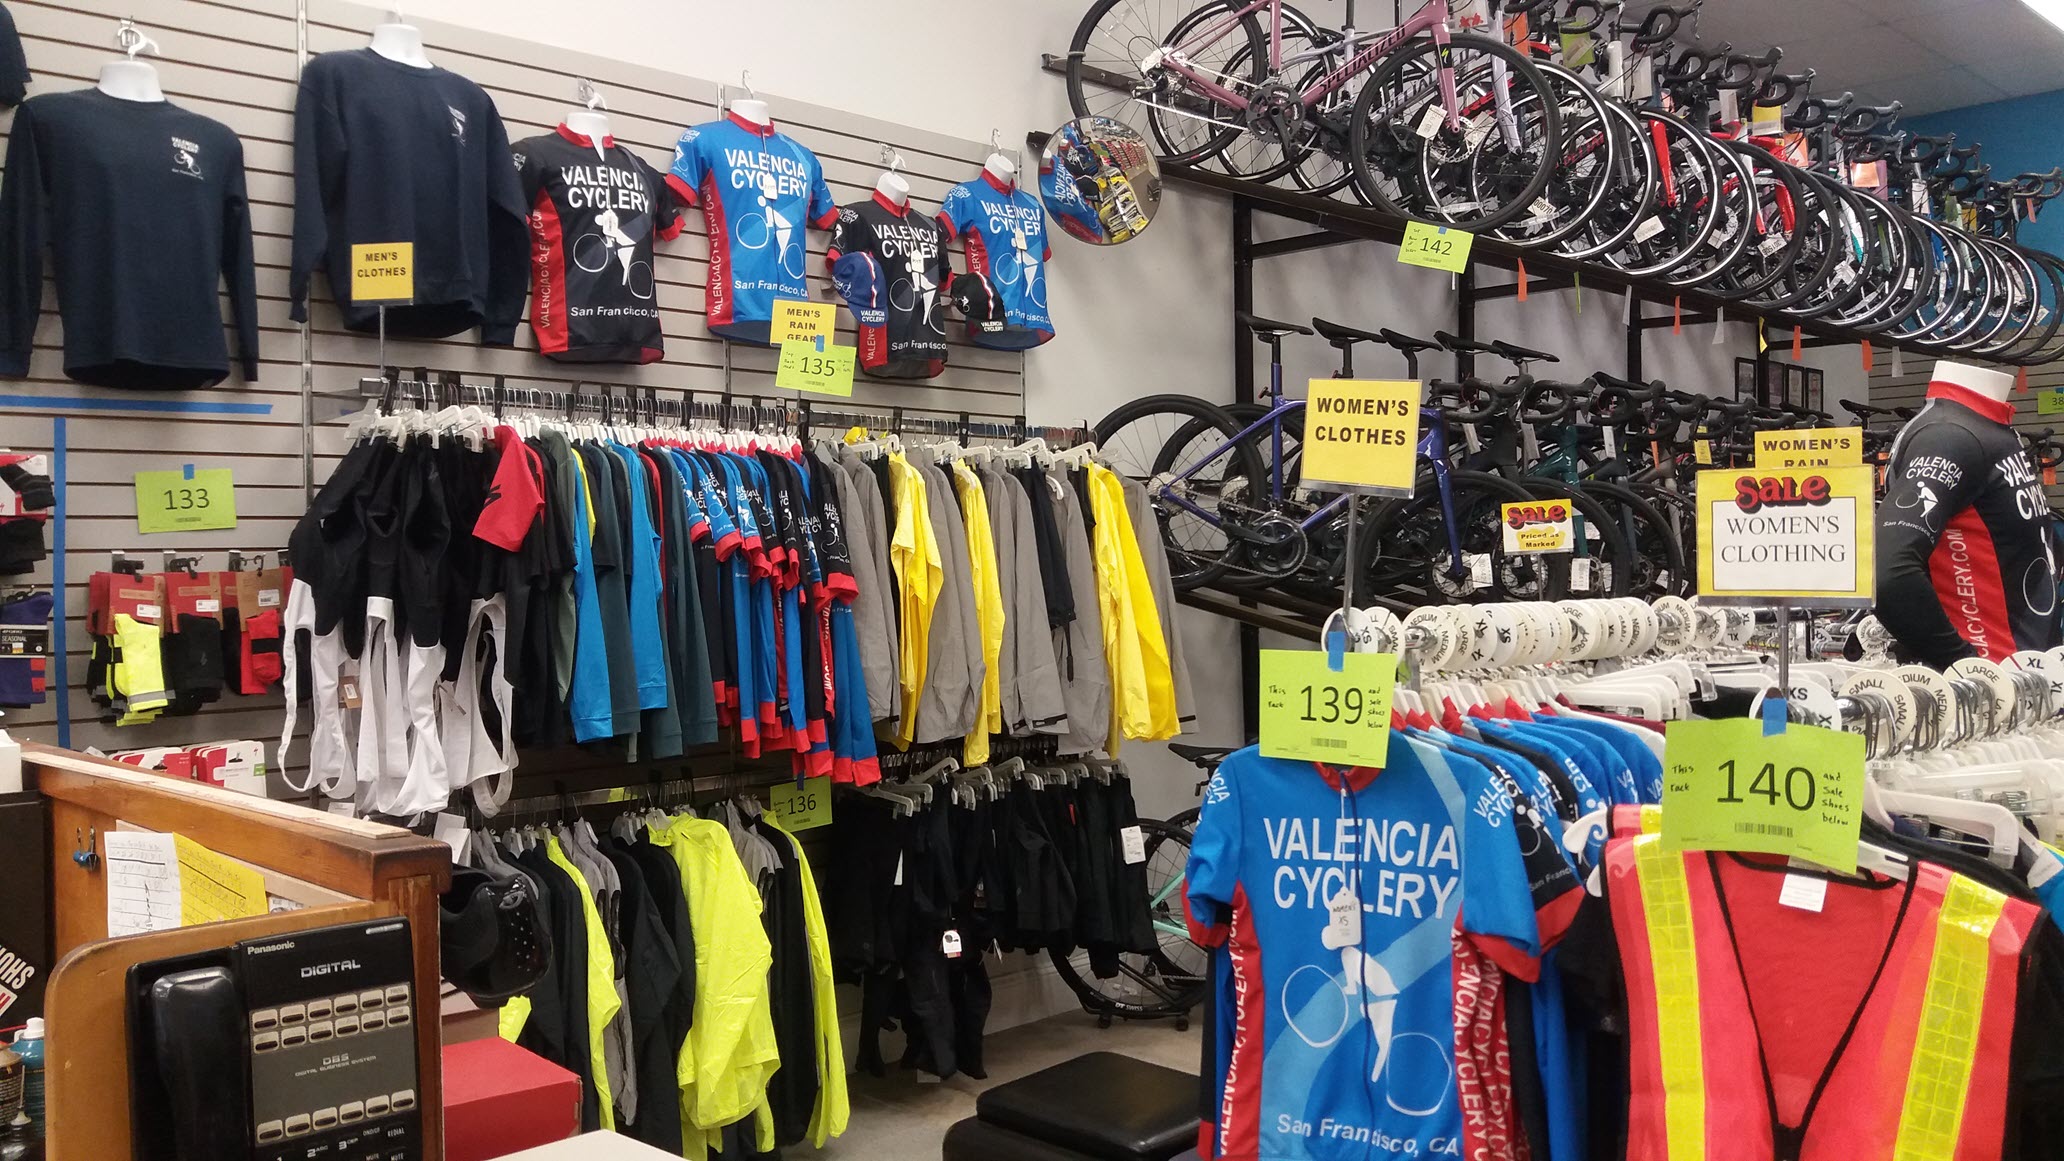
Clothing racks and bike racks can often be numbered by row.
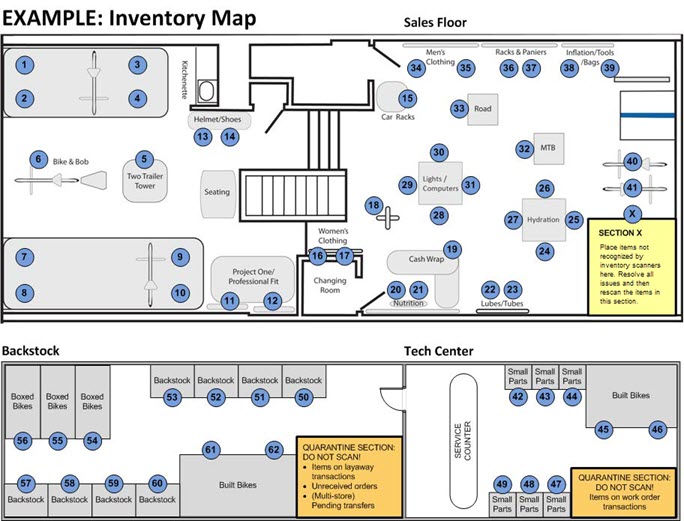
A partial example of a store’s section map is below.
KB22-117