
Ascend’s eCommerce integration is designed for use with the Workstand and Locally website platforms.
You can use both platforms at the same time, you just need to walk through the steps below to ensure the information has been entered in for both.
User Permissions
Users who will be processing eCommerce sales require the following user permissions:
- eCommerce Import
- Advanced Payments
Settings & Options
- From the Ascend Desktop, click the Options tile.
- Select the eCommerce Import tab.
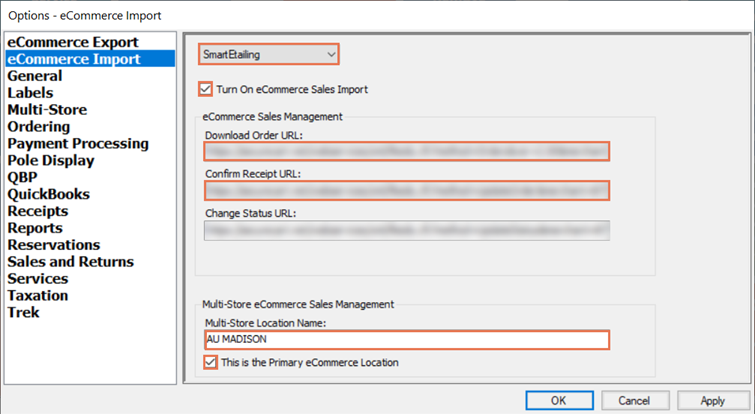
- From the provider dropdown, select the appropriate option.
-
Workstand:
- Check Turn on eCommerce Sales Import.
- In the Download Order URL field, enter the value from your eCommerce website provider.
- In the Confirm Receipt URL field, enter the value from your eCommerce website provider.
- The Change Status URL field is not currently used.
- (Multi-store retailers) In the Multi-Store Location Name field, enter the Location Name as specified on your eCommerce website.
- (Multi-store retailers) Check This is the Primary eCommerce Location at the location which should download sales which are shipped to customers.
- Note: Only check this option at one location. In-store pickup sales automatically download to the appropriate location.
- Click Apply.
-
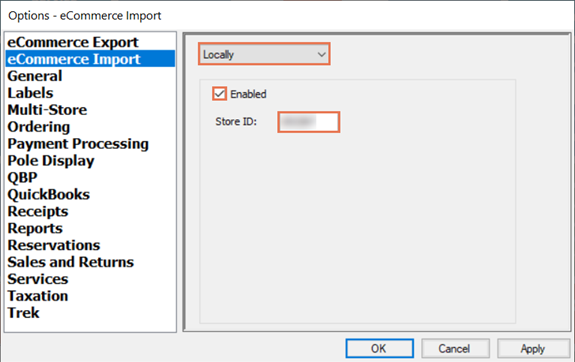
Locally:
- Check Enabled.
- In the Store ID field, enter your location’s Locally store ID.
- Note: This ID can be found at the end of your store URL (e.g. https://www.locally.com/store/{123456}) or in your inventory feed email address (e.g. feeds.{123456}.a7905f195b@robot.locally.com).
- Click Apply
-
Workstand:
- Click the OK button.
KB22-008