
Ascend includes the most common payment types by default. However, you may need additional payment types to account for your specific business practices (like customer satisfaction credits) or third-party service and integrations like Citizens Pay, Klarna, and Square payments. Ascend makes it easy to accept new payment types using custom payments.
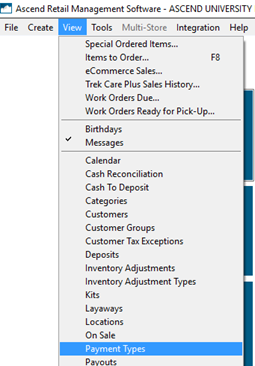
- From the Ascend Desktop, select the View menu > Payment Types.
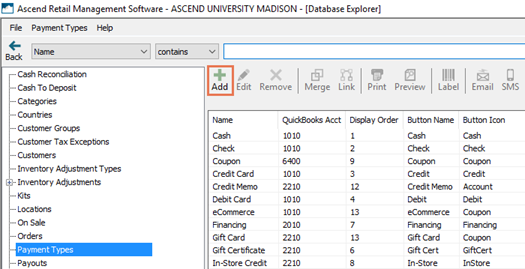
- On the toolbar, click Add.
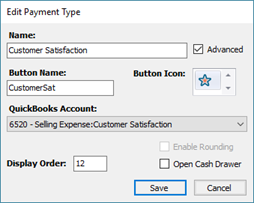
- In the Name field, enter the name you wish to display in reports (e.g. Trek Financing, Klarna, Customer Satisfaction, Barter). Once set, this value cannot be changed.
- Check Advanced to limit the payment type only to those users with the Advanced Payments user permission (e.g. managers).
- In the Button Name field, enter the text you wish to display on the Payment toolbar (e.g. Trek Financing, Klarna, CustomerSat, Barter).
- From the Button Icon field, select the image you wish to display on the Payment toolbar.
- QuickBooks® users: From the QuickBooks Account drop-down, select the appropriate QuickBooks® account to which the payment should apply.
- In the Display Order field, enter the order in which you wish to display the payment on the Payment toolbar.
- Check Enable Rounding if the payment should be rounded.
- Check Open Cash Drawer if the cash drawer should open for the payment.
- Click Save.
KB22-201